OK, so update time not much has happened in the paint department, but I have been down to see paul, and things are moving along nicely, but not a lot to show other than sanding and prep work. However, I have decided to tackle the gearbox.
So I started with a full strip-down. As you can see, it is the 084 4 speed gearbox. Knowing what I know now, I would have ordered all the new gaskets, bearings, and seals before starting. At one point, I didn't think I was going to be able to get all the replacement parts, and I'm still after one part, 084-301-192, which is the green collar for the seal... so if you have one or know where I can get one from please let me know. I really appreciate any help you can provide.
So with the stripdown well underway, I got to this stage and then removed all the seals and bearings from the casings so I could get the vapour blasted. (Video Below)
What an amazing gentleman. As you can see from the pictures below, he did an amazing job and very affordable prices, so if you are in the area and looking for vapour blasting, I highly recommend giving him a call.
So that's where I am currently with the build. When all the new parts arrive, I will do a quick update on the reassembly of the gearbox. Some other things I have done but didn't take pictures of was to replace the heater matrix and apply new foam to the internals of the control flaps inside as they had completely perished and didn't really work anymore.
A question for your re welding - I've got going on mine but am finding the disposable bottles last no time at all and are pretty expensive at nearly £40 for 3 bottles. What are you using? Have you had any experience with the wire with flux core so you can go gasless?
Cheers
Yeah, same as Eddypeck, I get rent-free bottles, but mine I get from Gas-UK (link below). I would never go gasless for autobody repair due to the amount of clean up.
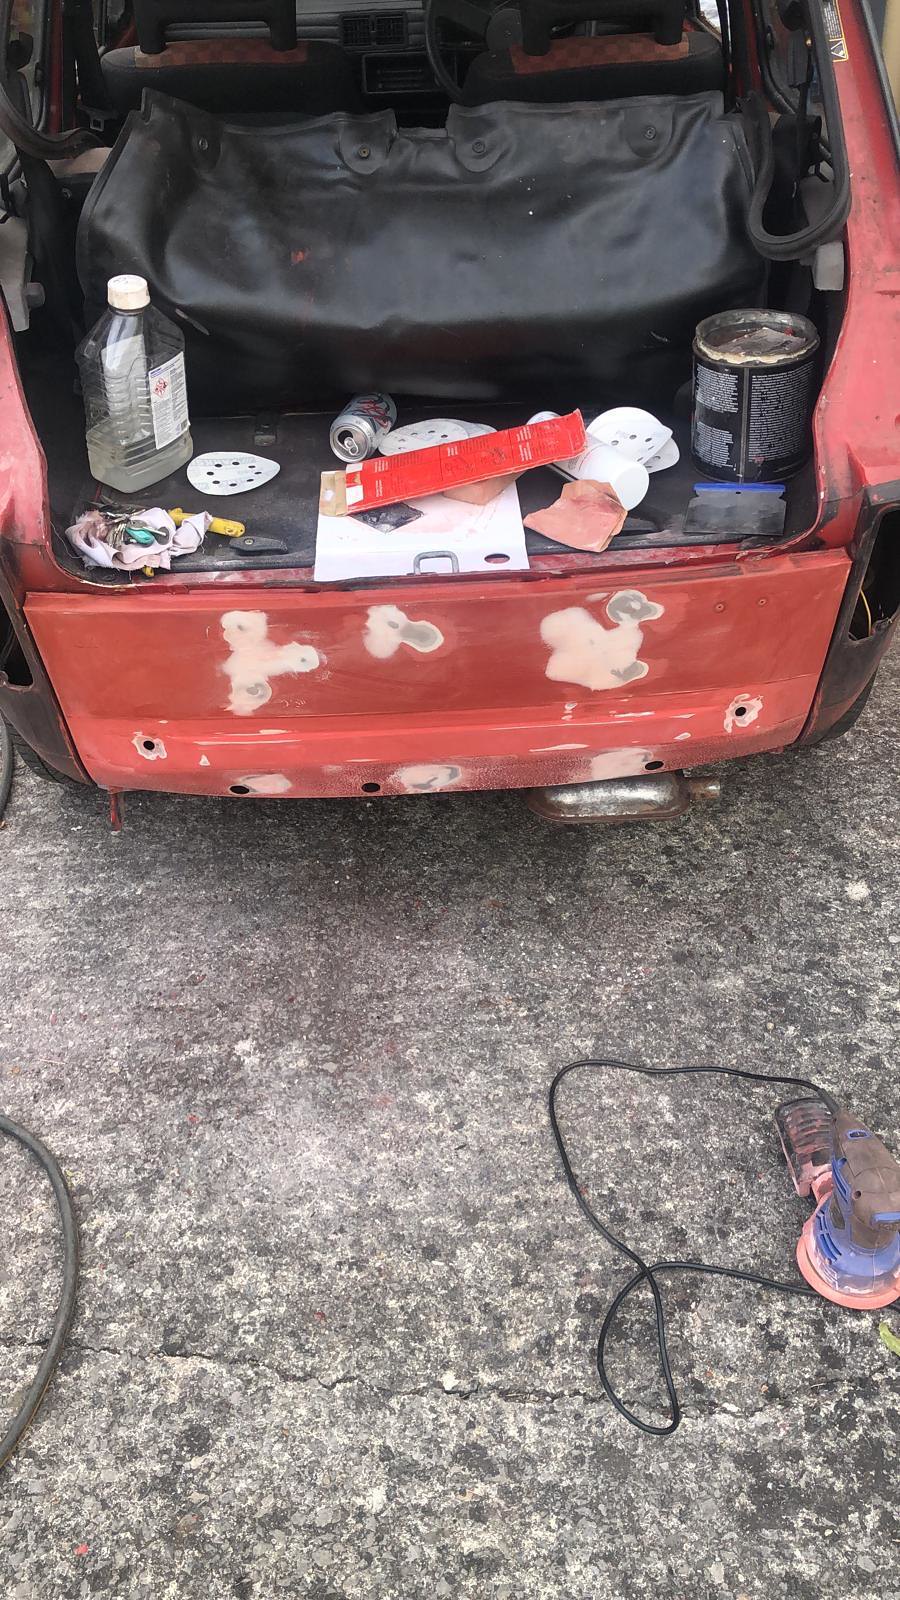
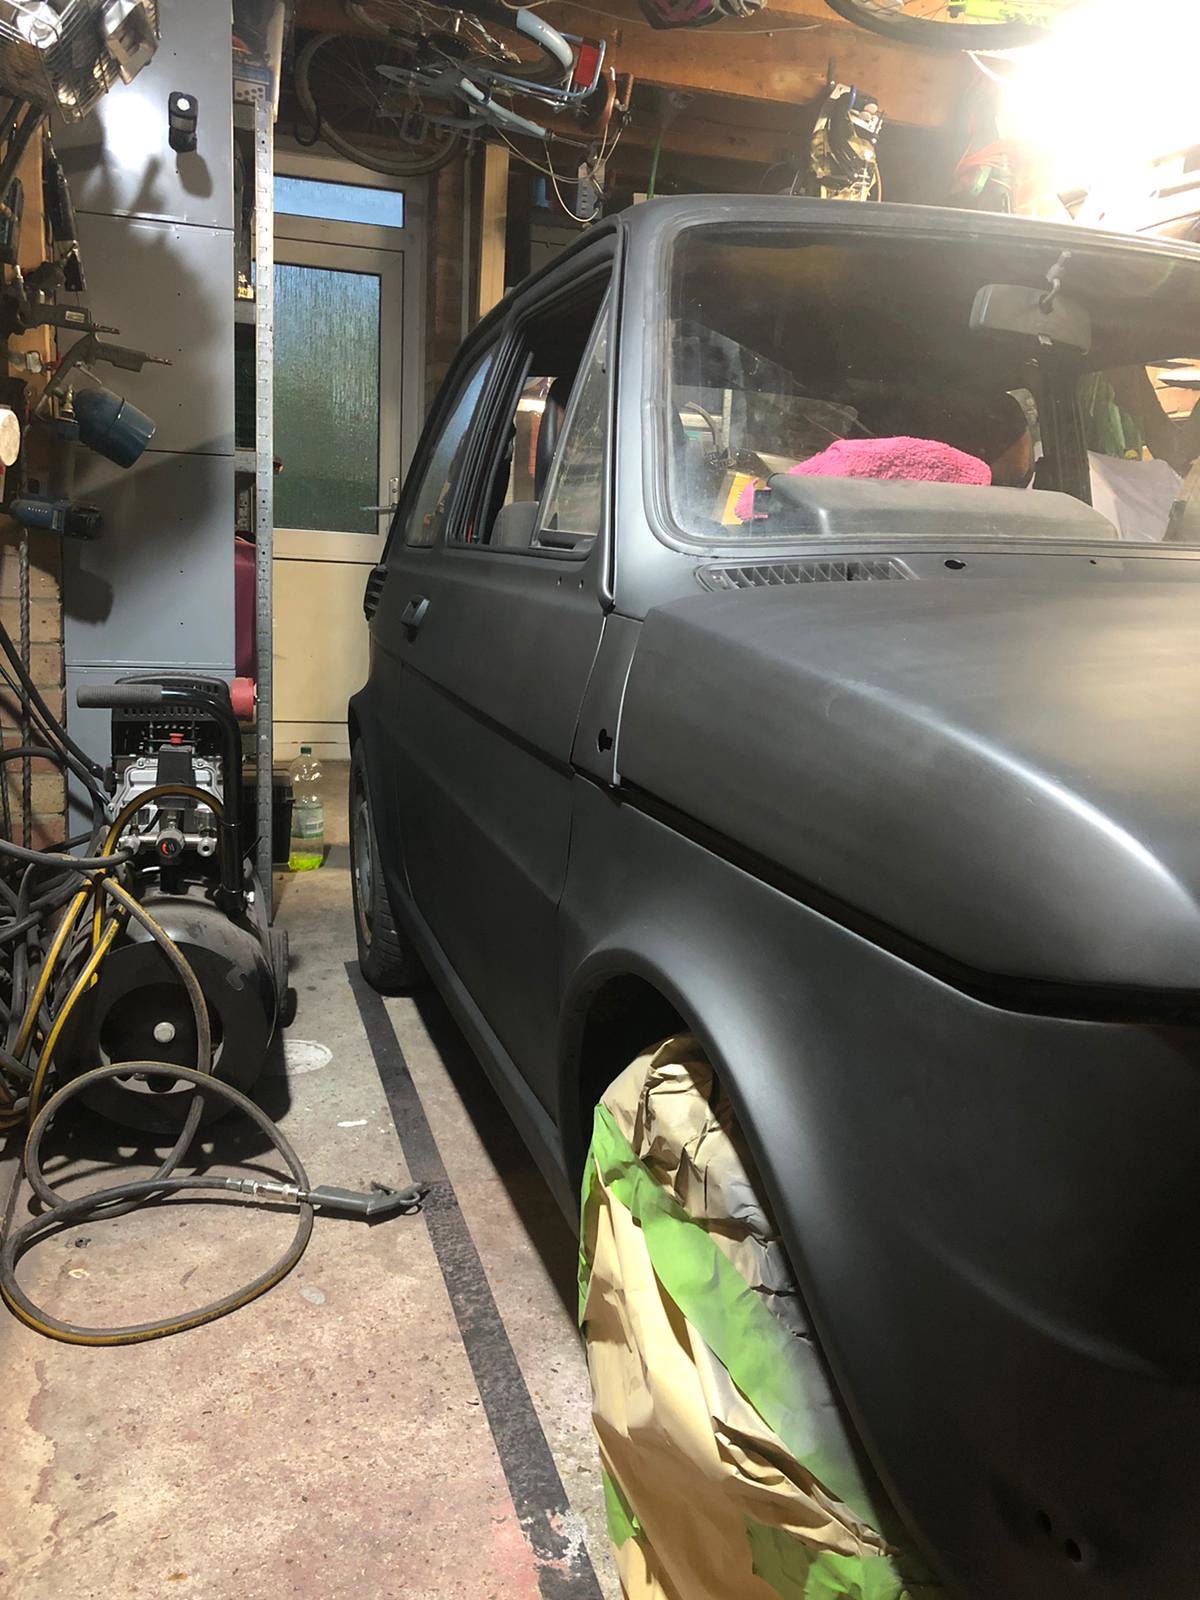
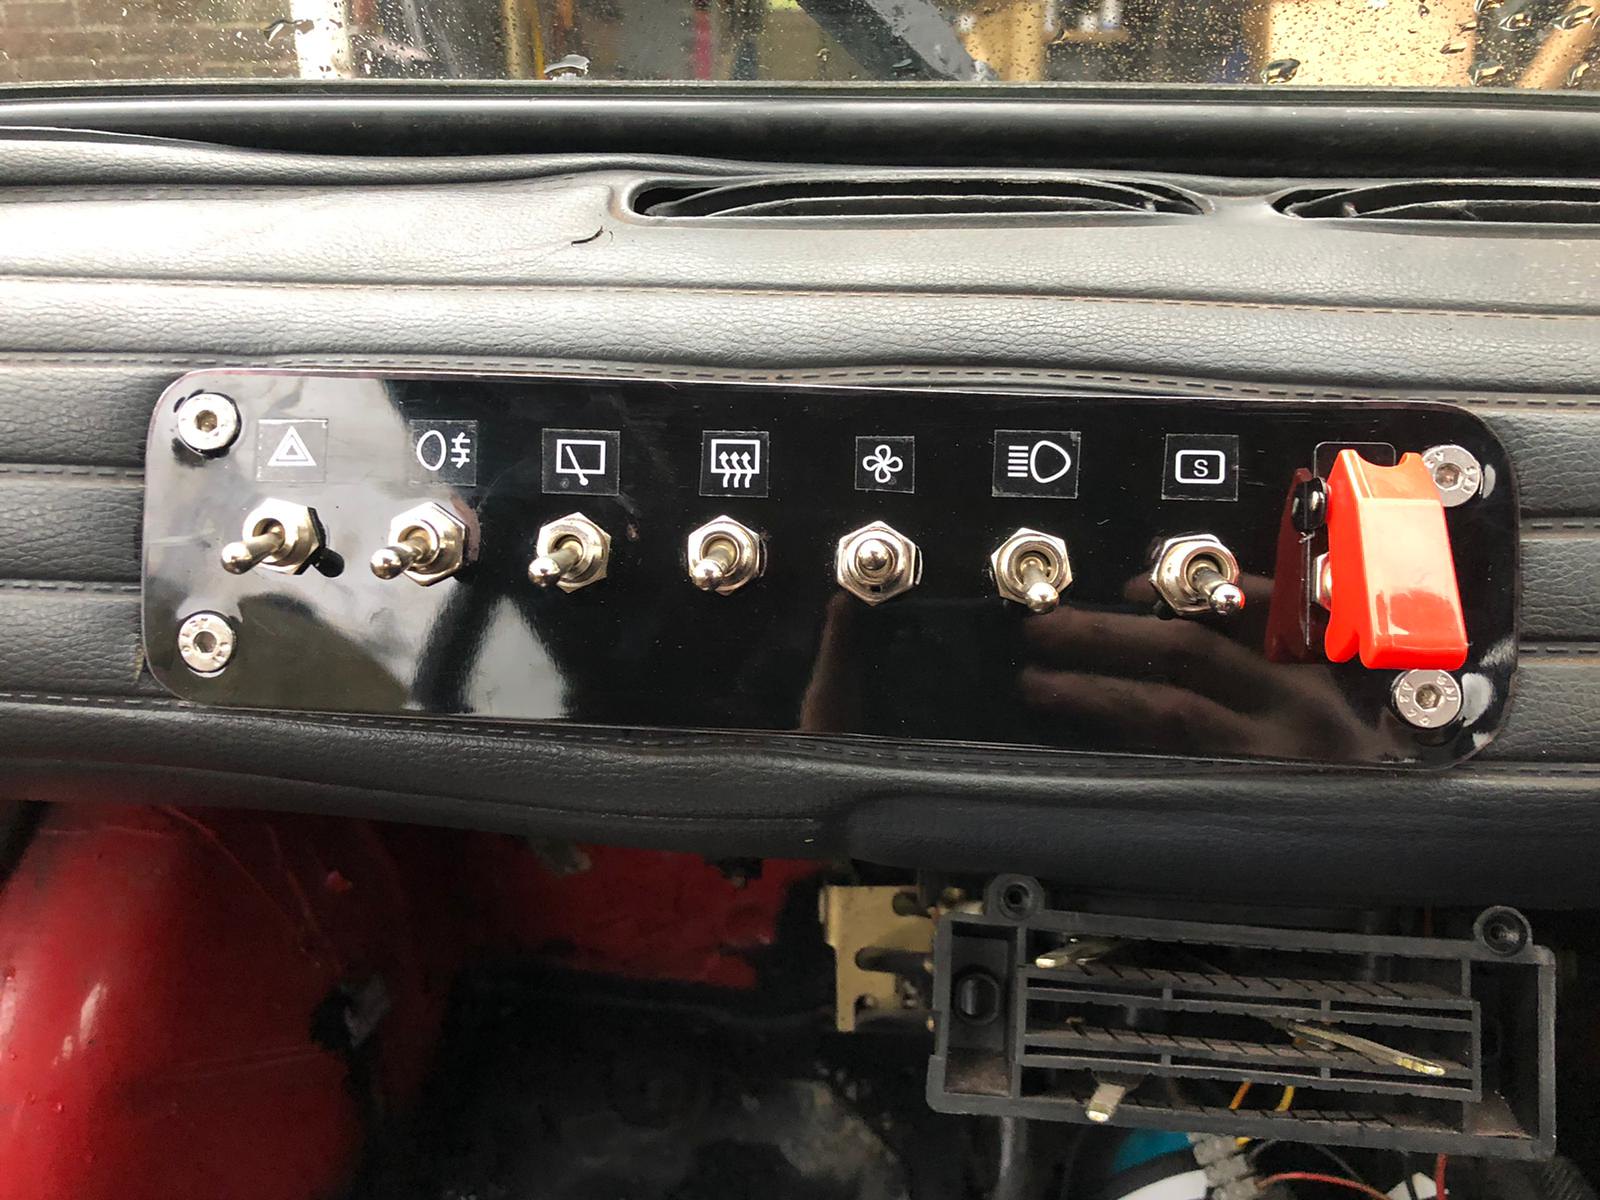
Now I've been a bit quiet on the MK2 build as I have been preoccupied with my son's junior rally car build, a Fiat 126 and is coming along quite nicely (few pictures below if interested). If not Skip, pass them to the MK2 Update...
Now that's enough about the Fiat! Back to the MK2!
So the Mk2 has been with the body shop The Forum Bodyworks, Blandford, Dorset. Amazing place and the owner Paul is a great bloke and doing a great job as a car body repair and spray paint specialist if you're in the area and looking for someone he's your man. (https://www.forumbodyworks.com).
Due to the weather and me having nowhere to store the car Paul has had it on the back burning and has been doing a little bit here and there, keeping the shell nice and dry for me. Until now.
What do you think? Personally, I love it, and all credit goes to my daughter as it was her choice. Paul had a quick look over the shell at my welding and did a little panel beating to get things straightened out.
Then it was time to see the paint laid down, and there are a few panels that are perfect for a demo as there were ready to go. So the Slam and Lower Front panel got the good treatment.
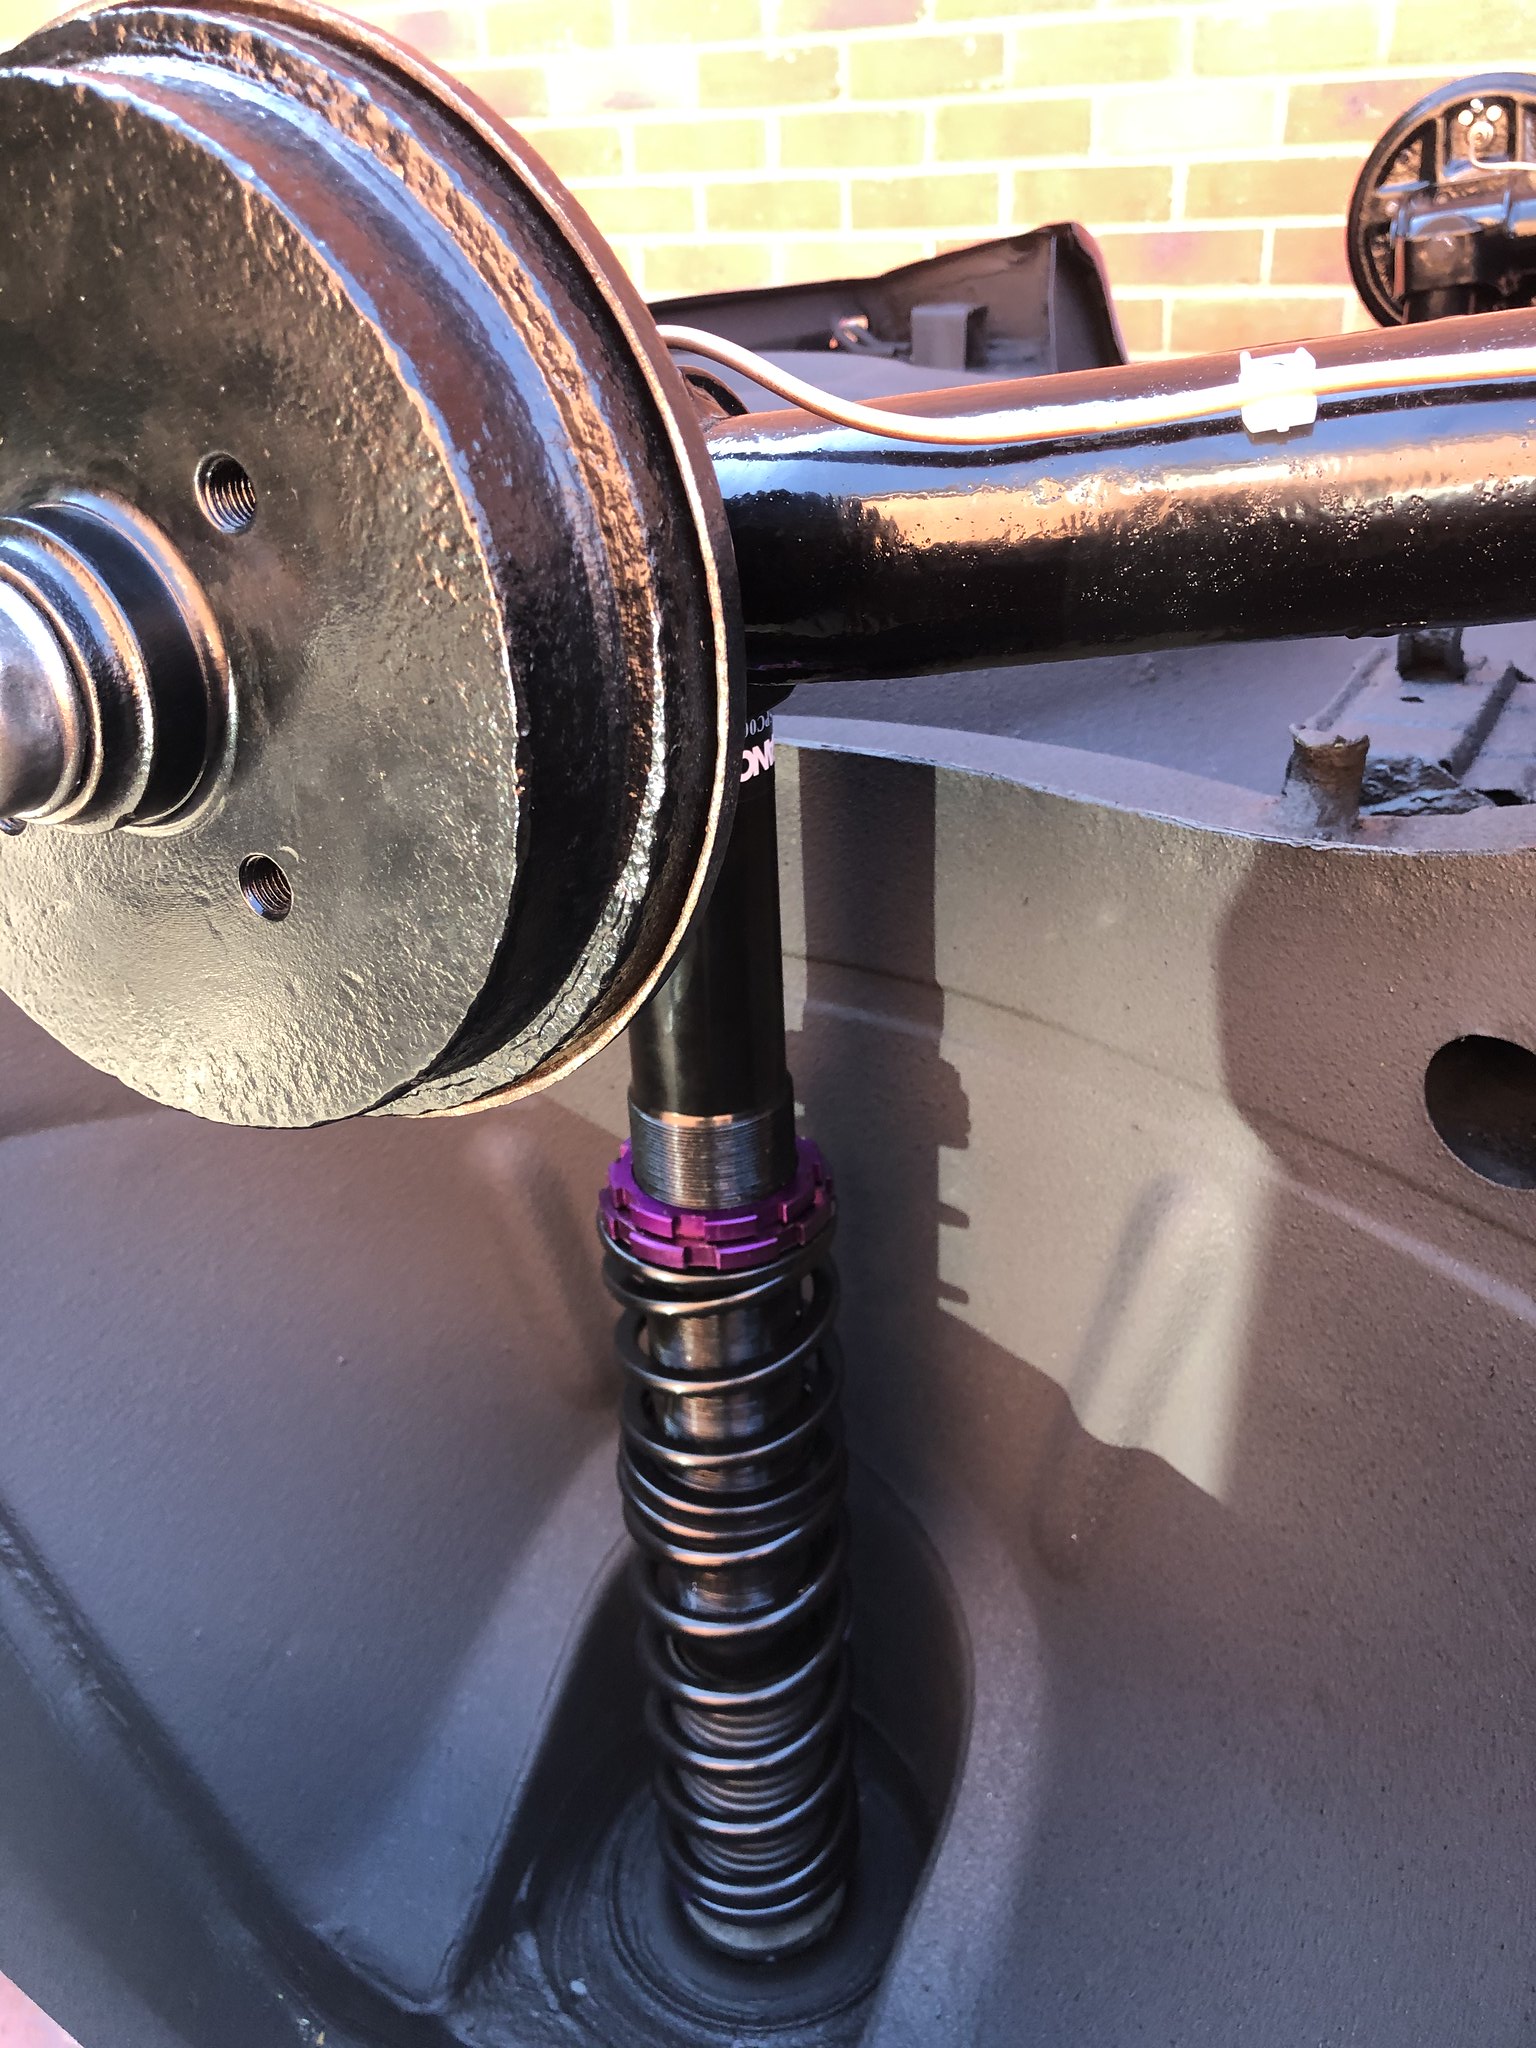
Looks awesome ! I'm currently doing up my 1.3 and I'm looking at getting some new coilovers, what do you think to the stance coilovers?
As you may be able to see from the pictures I have gone with the stance coilovers on this, they are a good price for a well-built coilover as for the ride I couldn't say, as I haven't used them in that capacity yet, but personally for a middle of the road toward budget they seem pretty good.
wow that work is mega on the driveway, that will be one cool first car when its finished, is it going to stay red?
Hey thanks for all the kind words it’s not going to stay red, my daughter has chosen nardo grey, and a set of 13x 6.5 minilites that she wants in a candy copper colour.
Seeing all of this has made me think I should give the underside of mine a go myself. What welder did you use? I've signed up to the mig welding forum and it's always something I wanted to learn.
Hi, thanks for the comment as for welder, I used a Budget Welder (Wolf Mig 140) it's not bad and did the job, but if I were going to do it again I would get a better one something mid-range with a euro torch fitment rather than fixed.
I used 0.6 wire and Argon 5 gas (93% Argon, 5% Carbon Dioxide, 2% Oxygen).
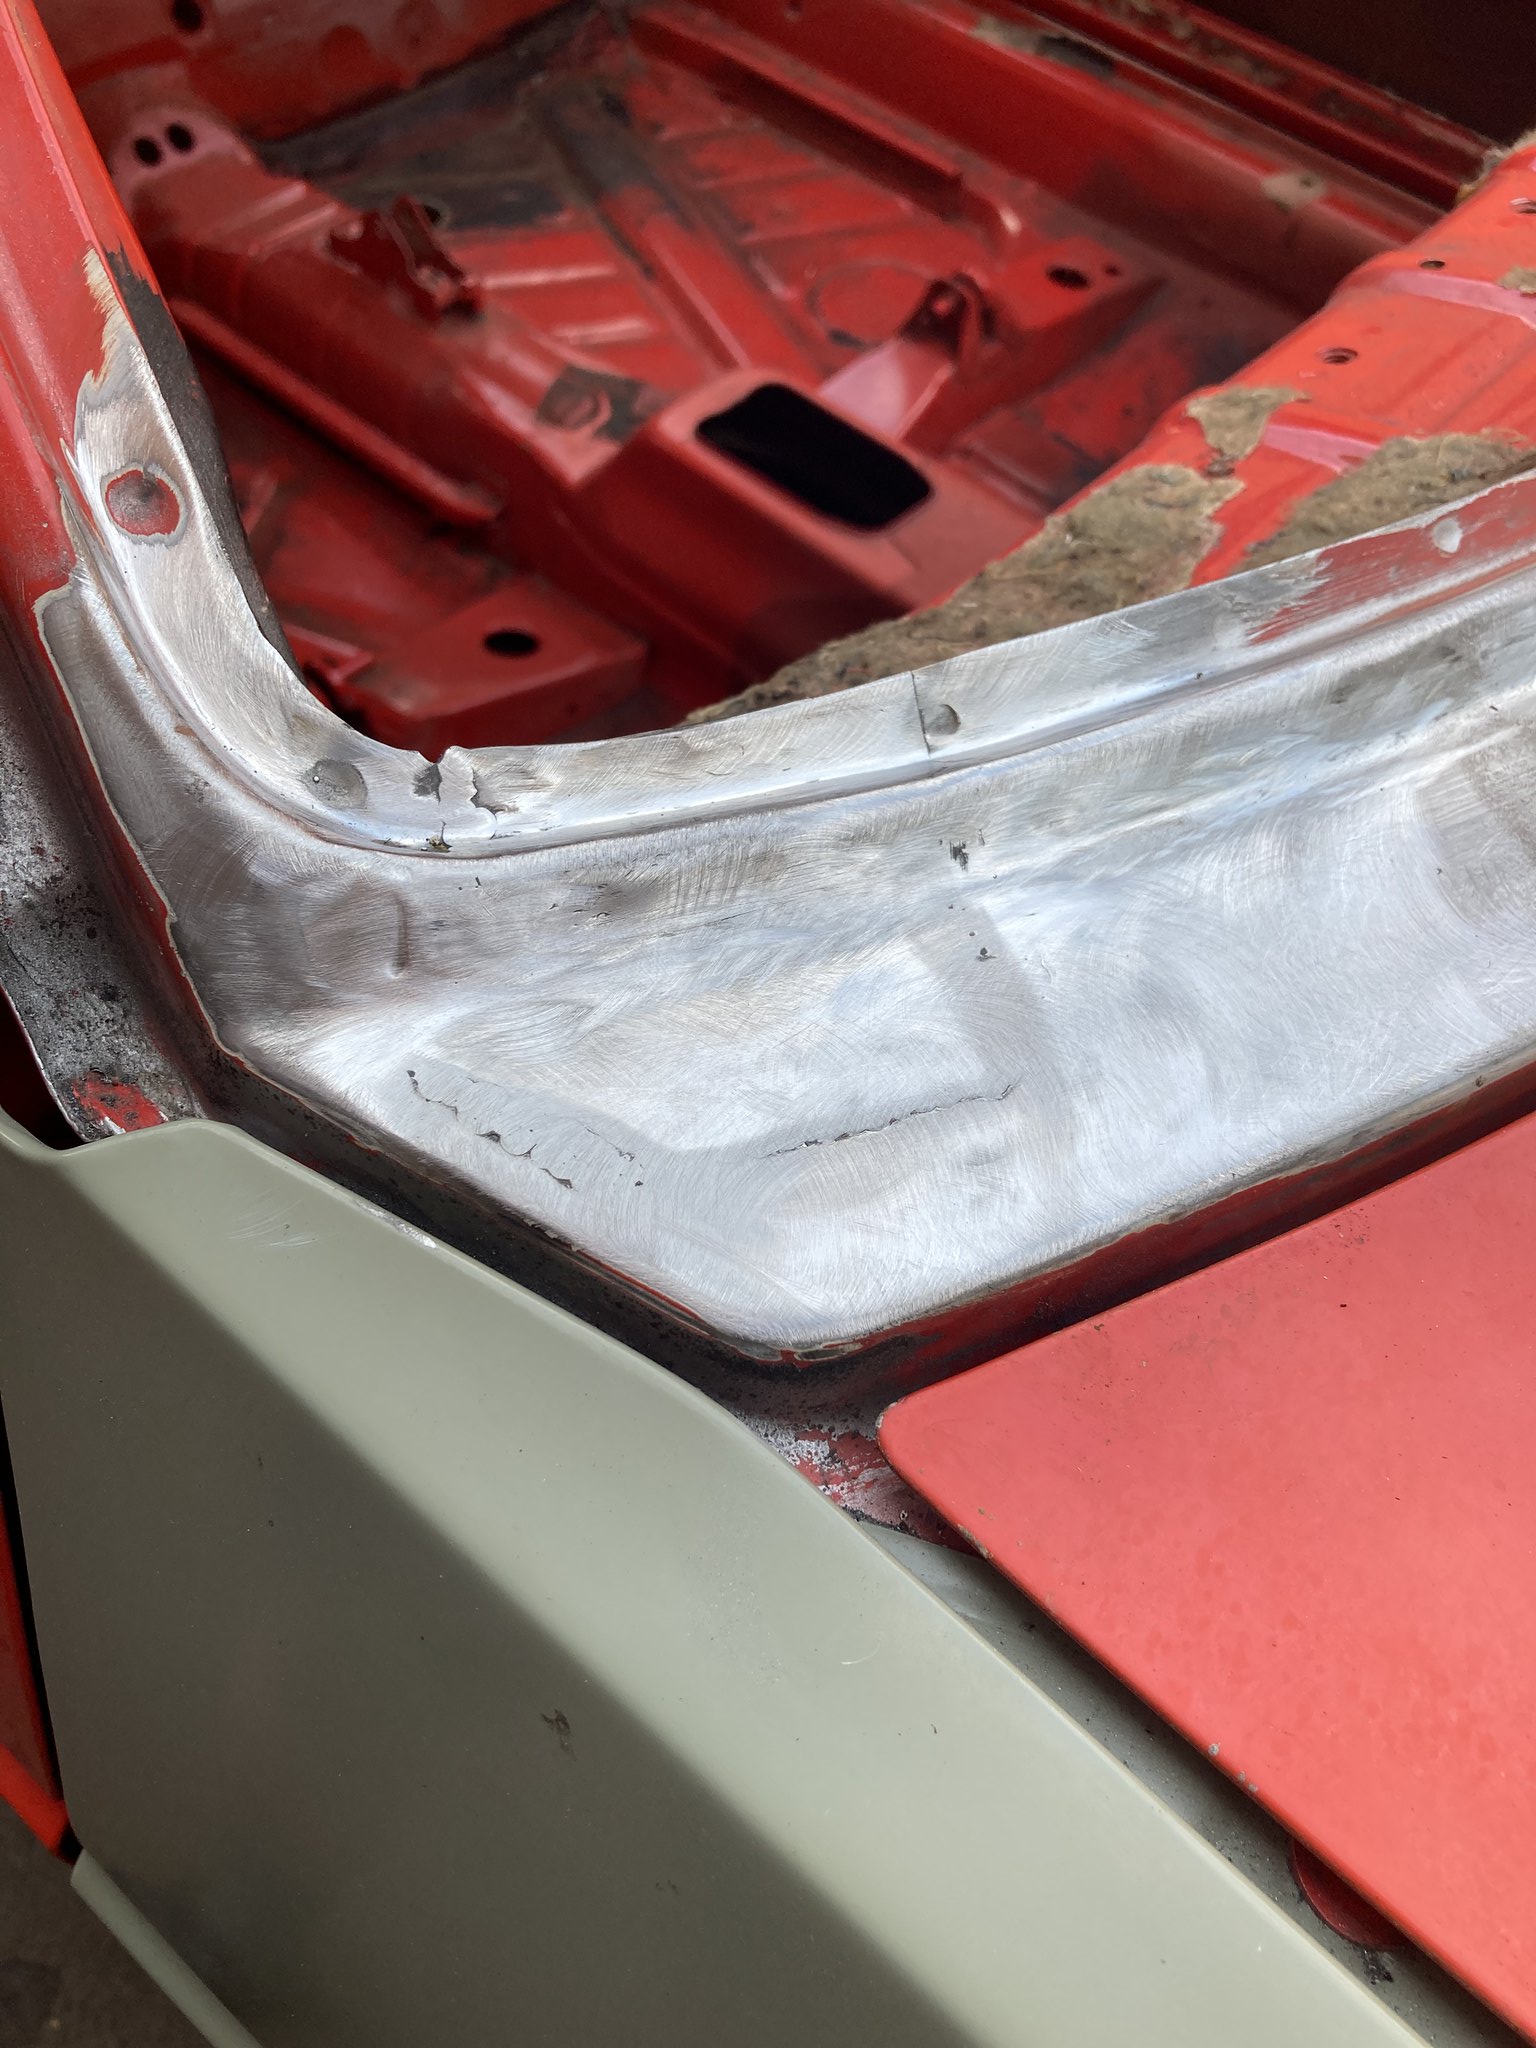
So when looking around the car found a hole in the windscreen scuttle that had a poor repair, which was just a load of filler some had smoothed over. So though I would cut it out and weld it up.
So I finally got it booked into the body shop for the final bits of filler and a full respray. So I was time to get it back on its wheels so it could be trailered away. So I started off by putting the steering rack back together and then bolting it all on the car.
I decided to do this with it still on the rollover rig as it was so much easier than with is on axel stands.
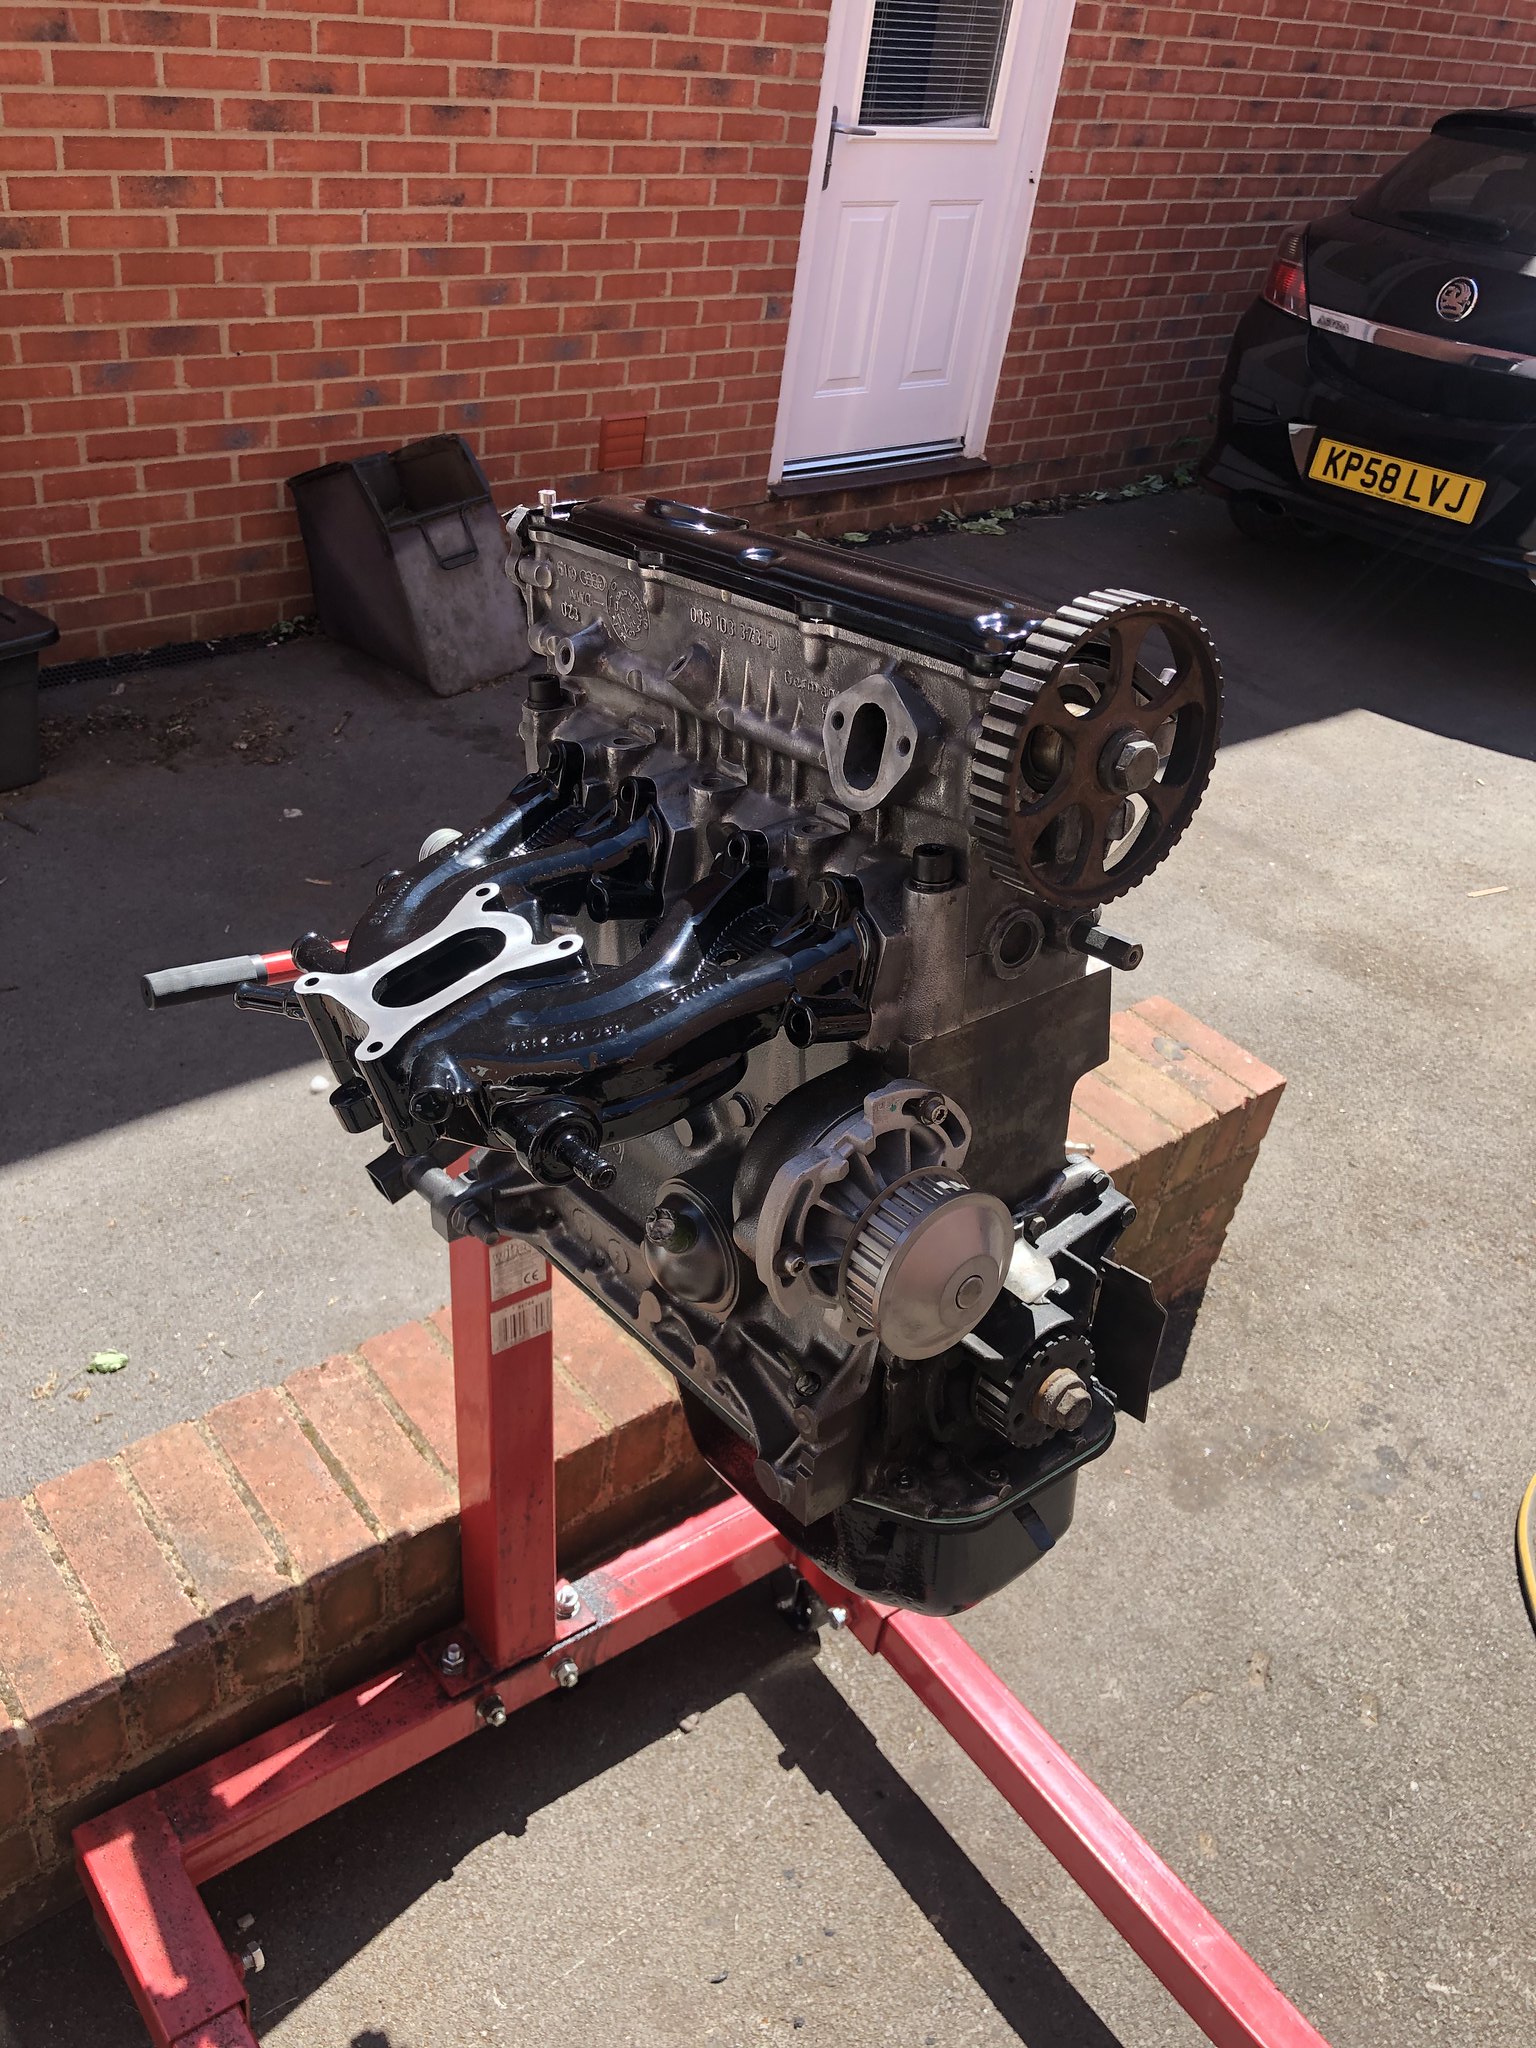
It was now time to take a look at the engine, I wasn't going to do a full rebuild as I previously mentioned I drove it every day for 2 years without it missing a beat that included monthly trips to Loughborough (300-mile round trips) for work and as a family visiting friends in Darlington (600-mile round trip). I was just going to fit a new head gasket and give everything a good clean and a lick of paint.
Wow great work and I hope my daughters get into this type of thing (4 & 6 so plenty of time to persuade). An inspiration to me on what can be achieved on your drive.
Thanks, I've been fortunate with the weather until recently, but I had a couple of car covers over it and just prayed for better weather to come again, which it did.
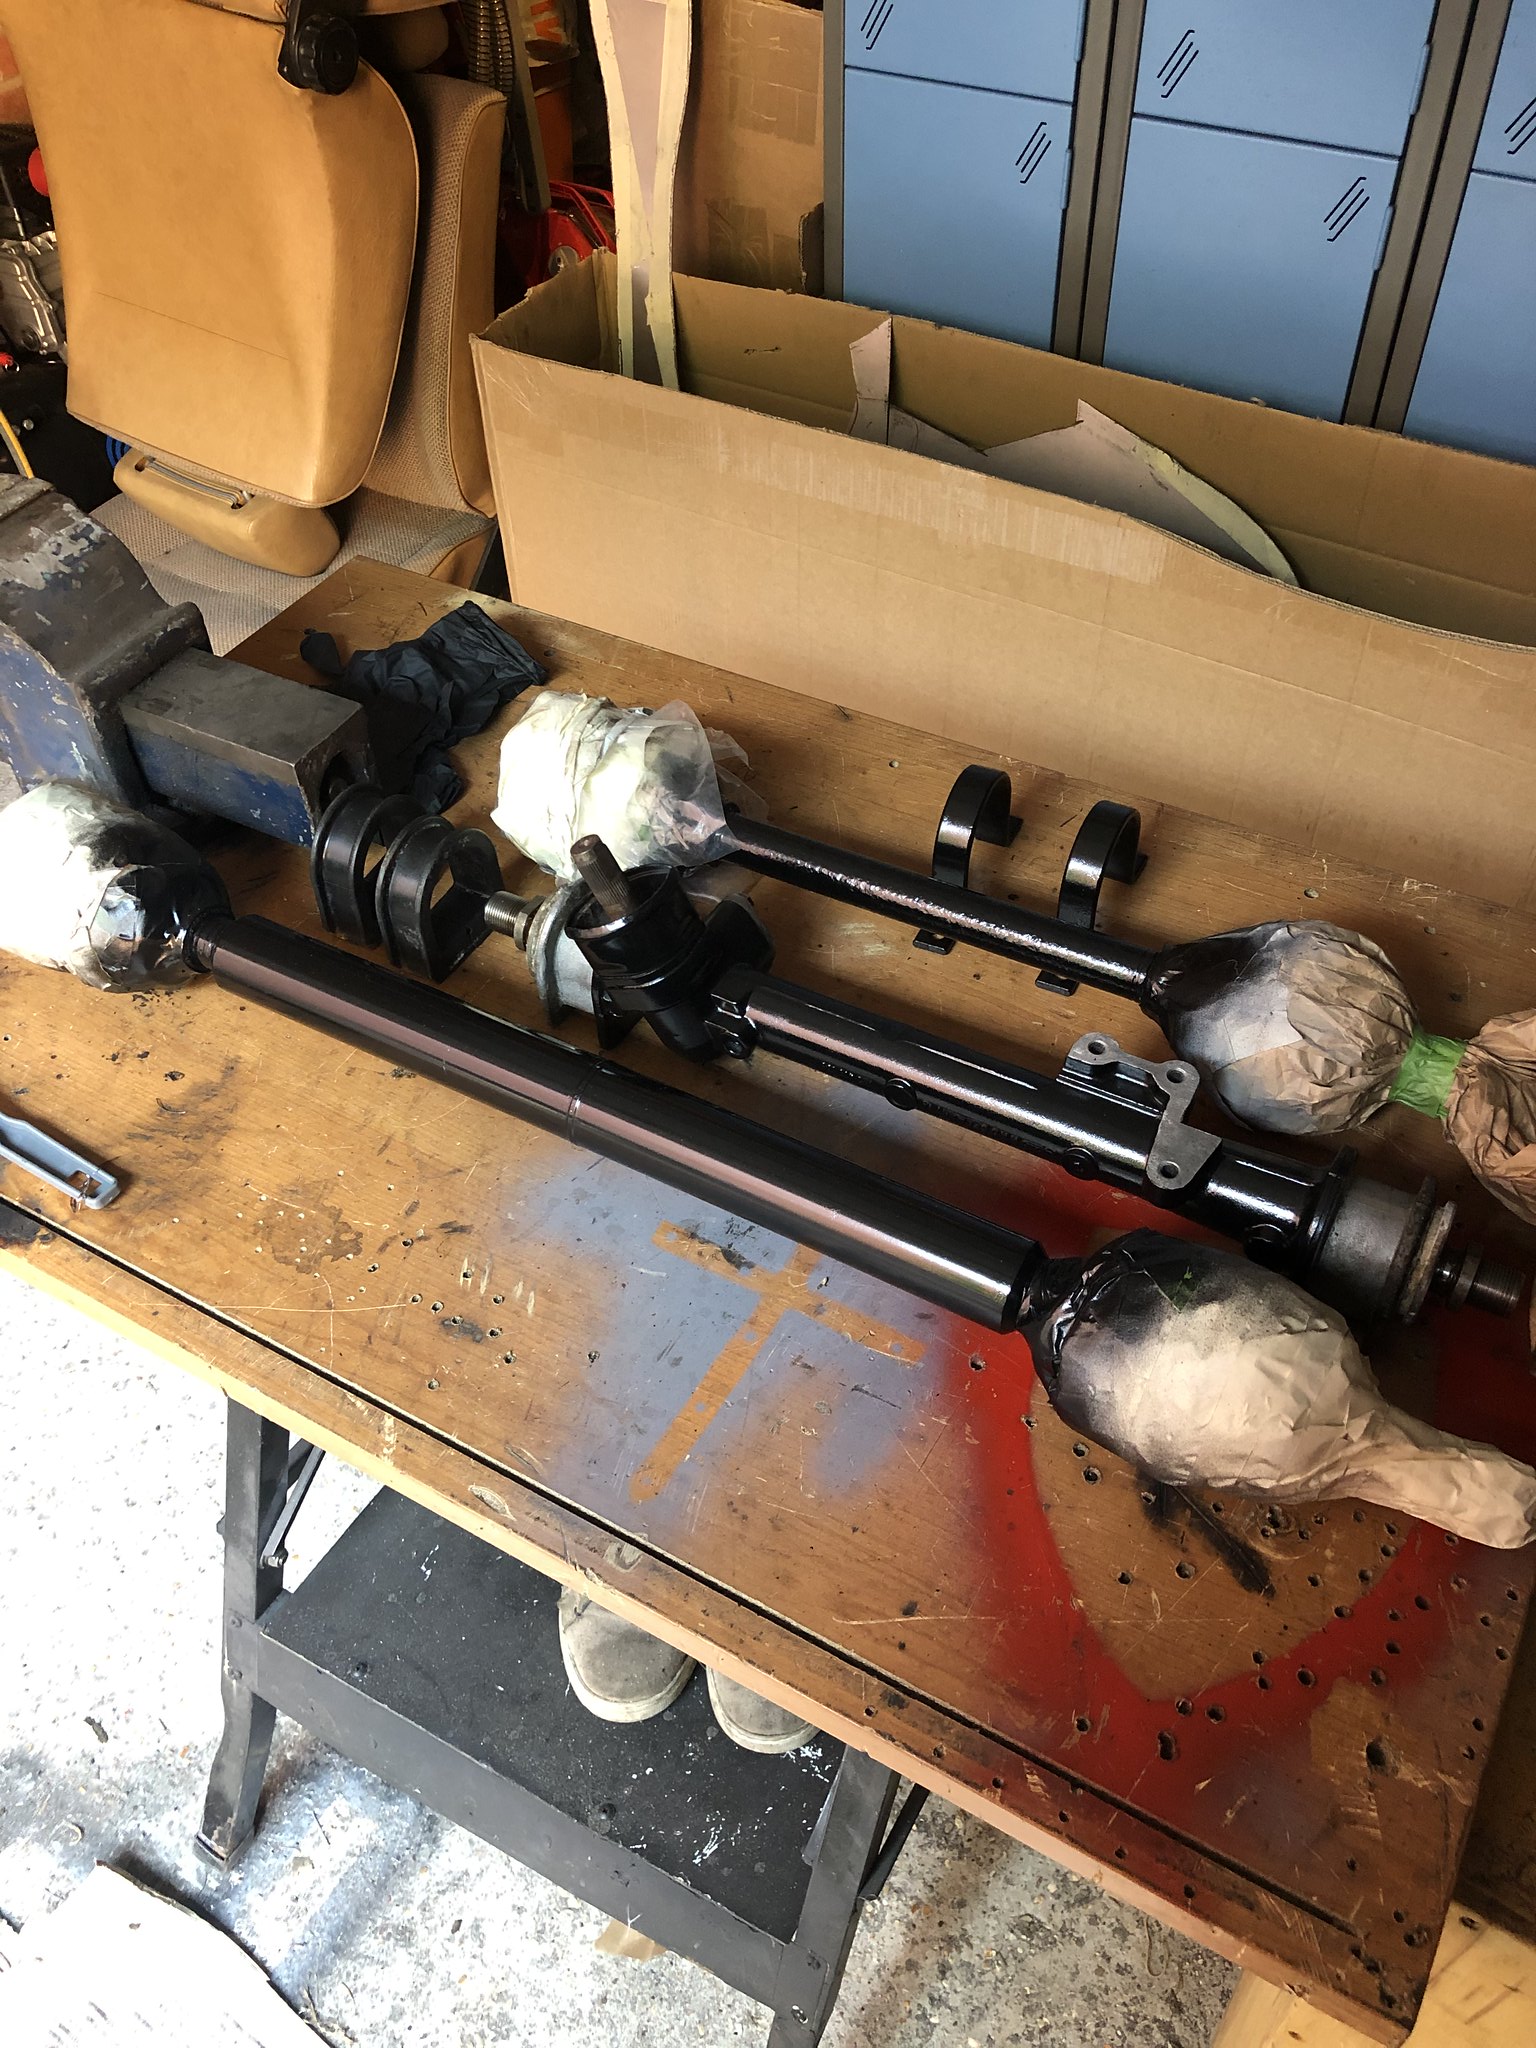
Now, this was done I decided to paint up the steering rack and axels and fit poly bushes all around. I went for The Powerflex Heritage Collection as my daughter didn't want any bright coloured ones so these fitted the bill perfectly.
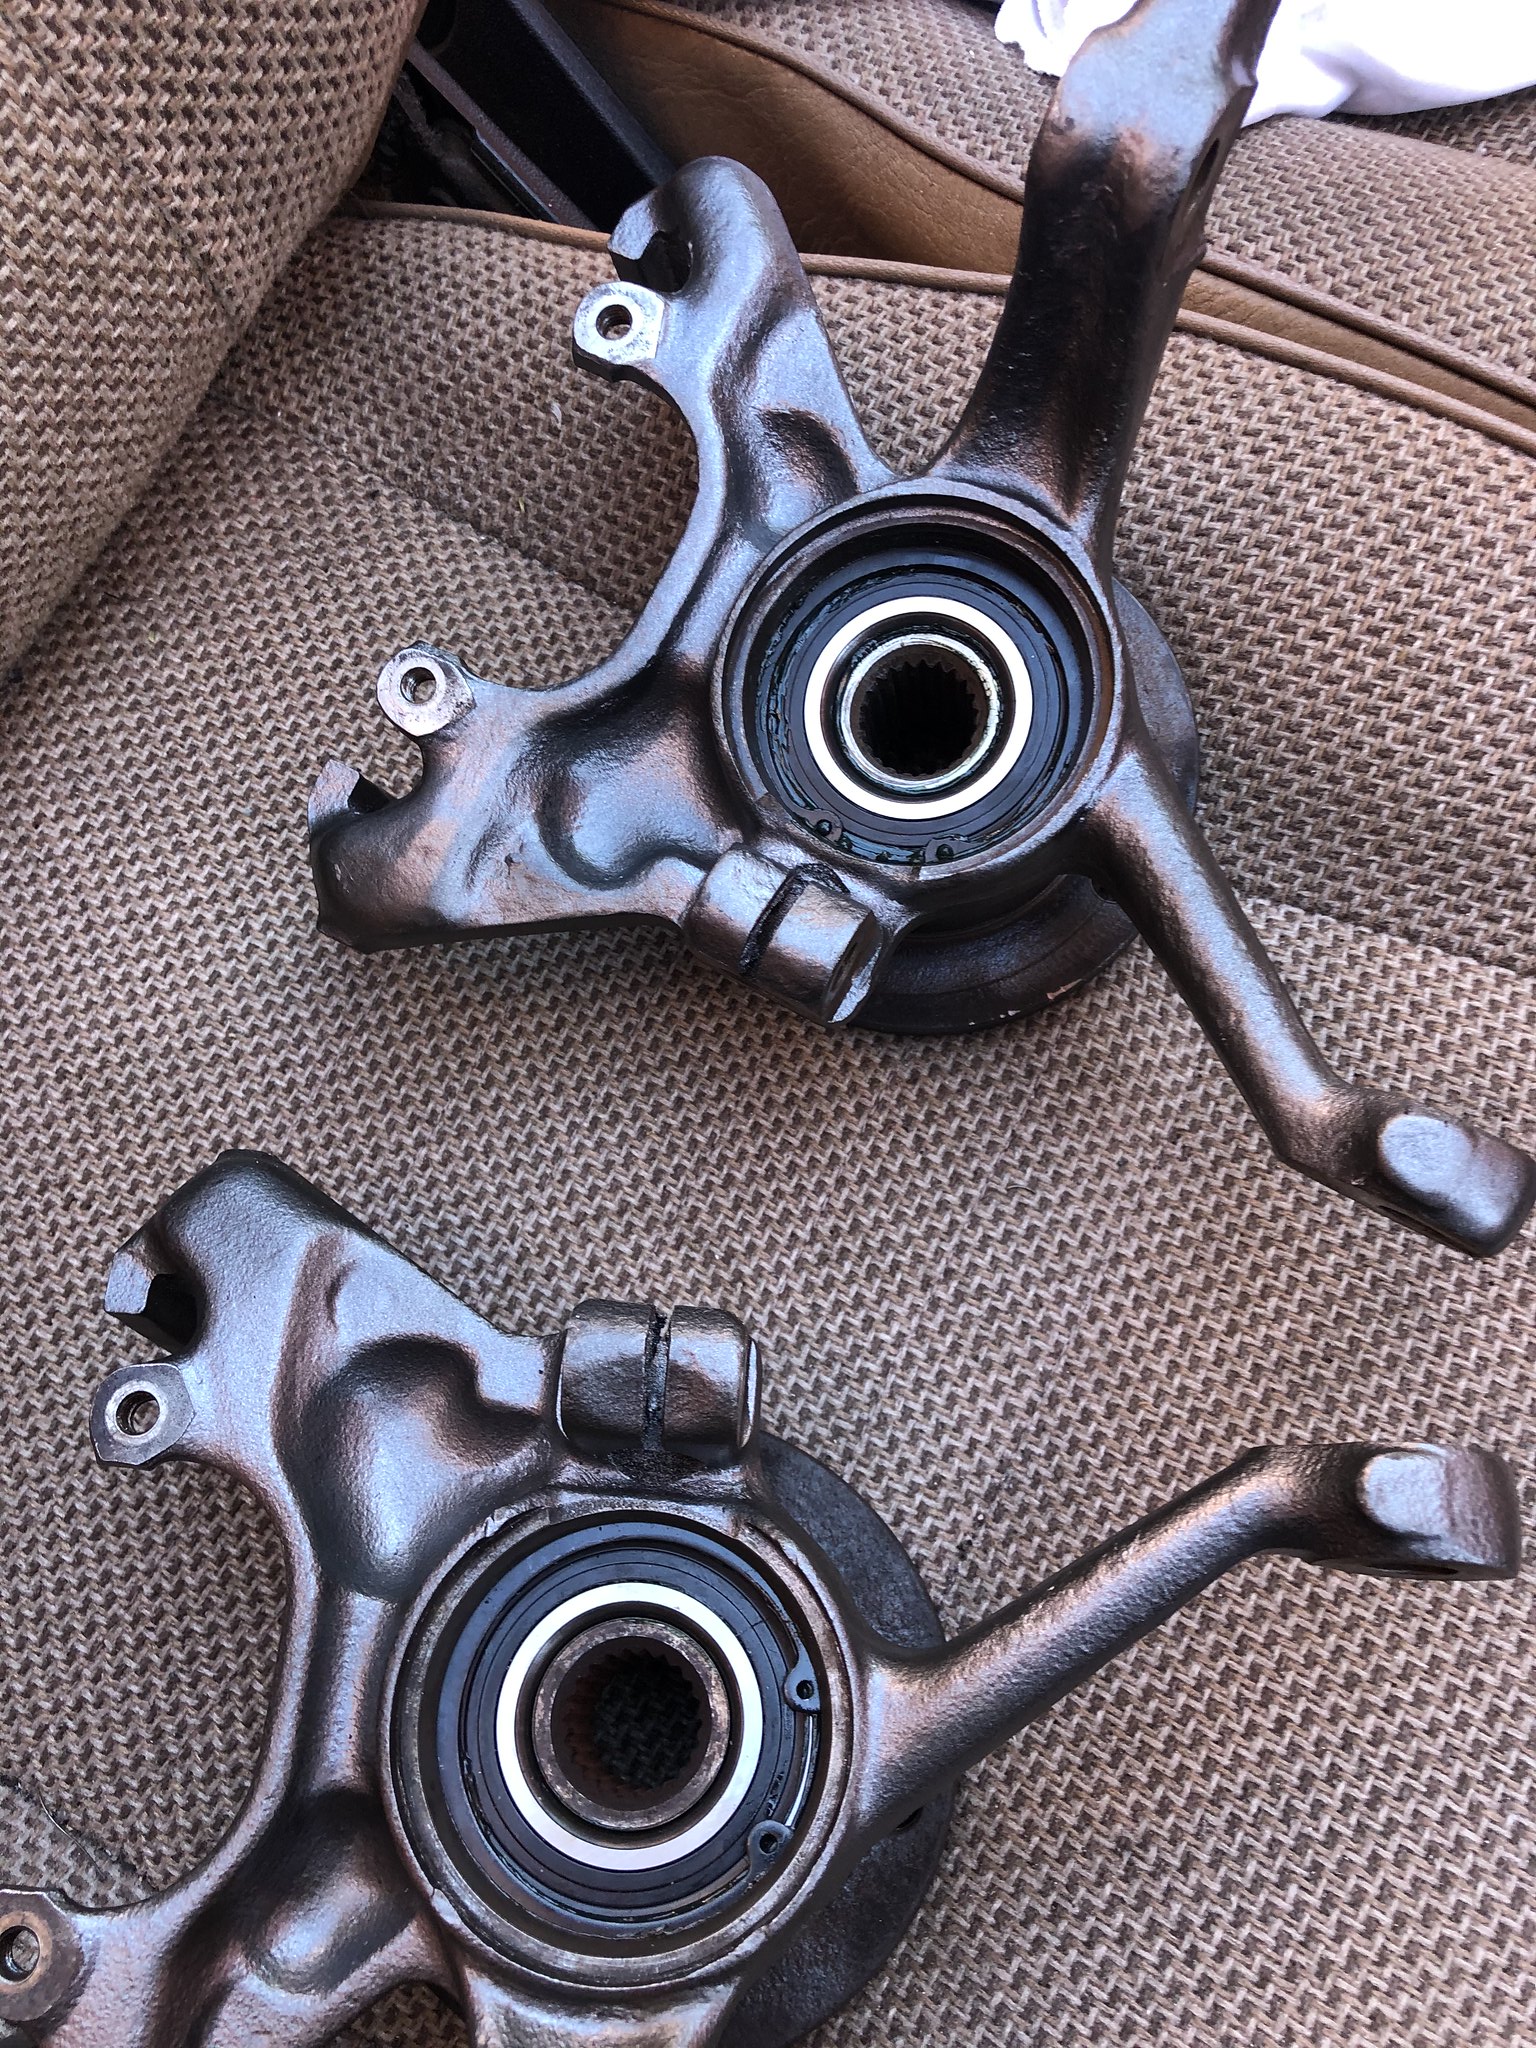
I also tackled the front and rear hubs with new bearings and brakes and new copper brake lines on the rear beam and under the car.
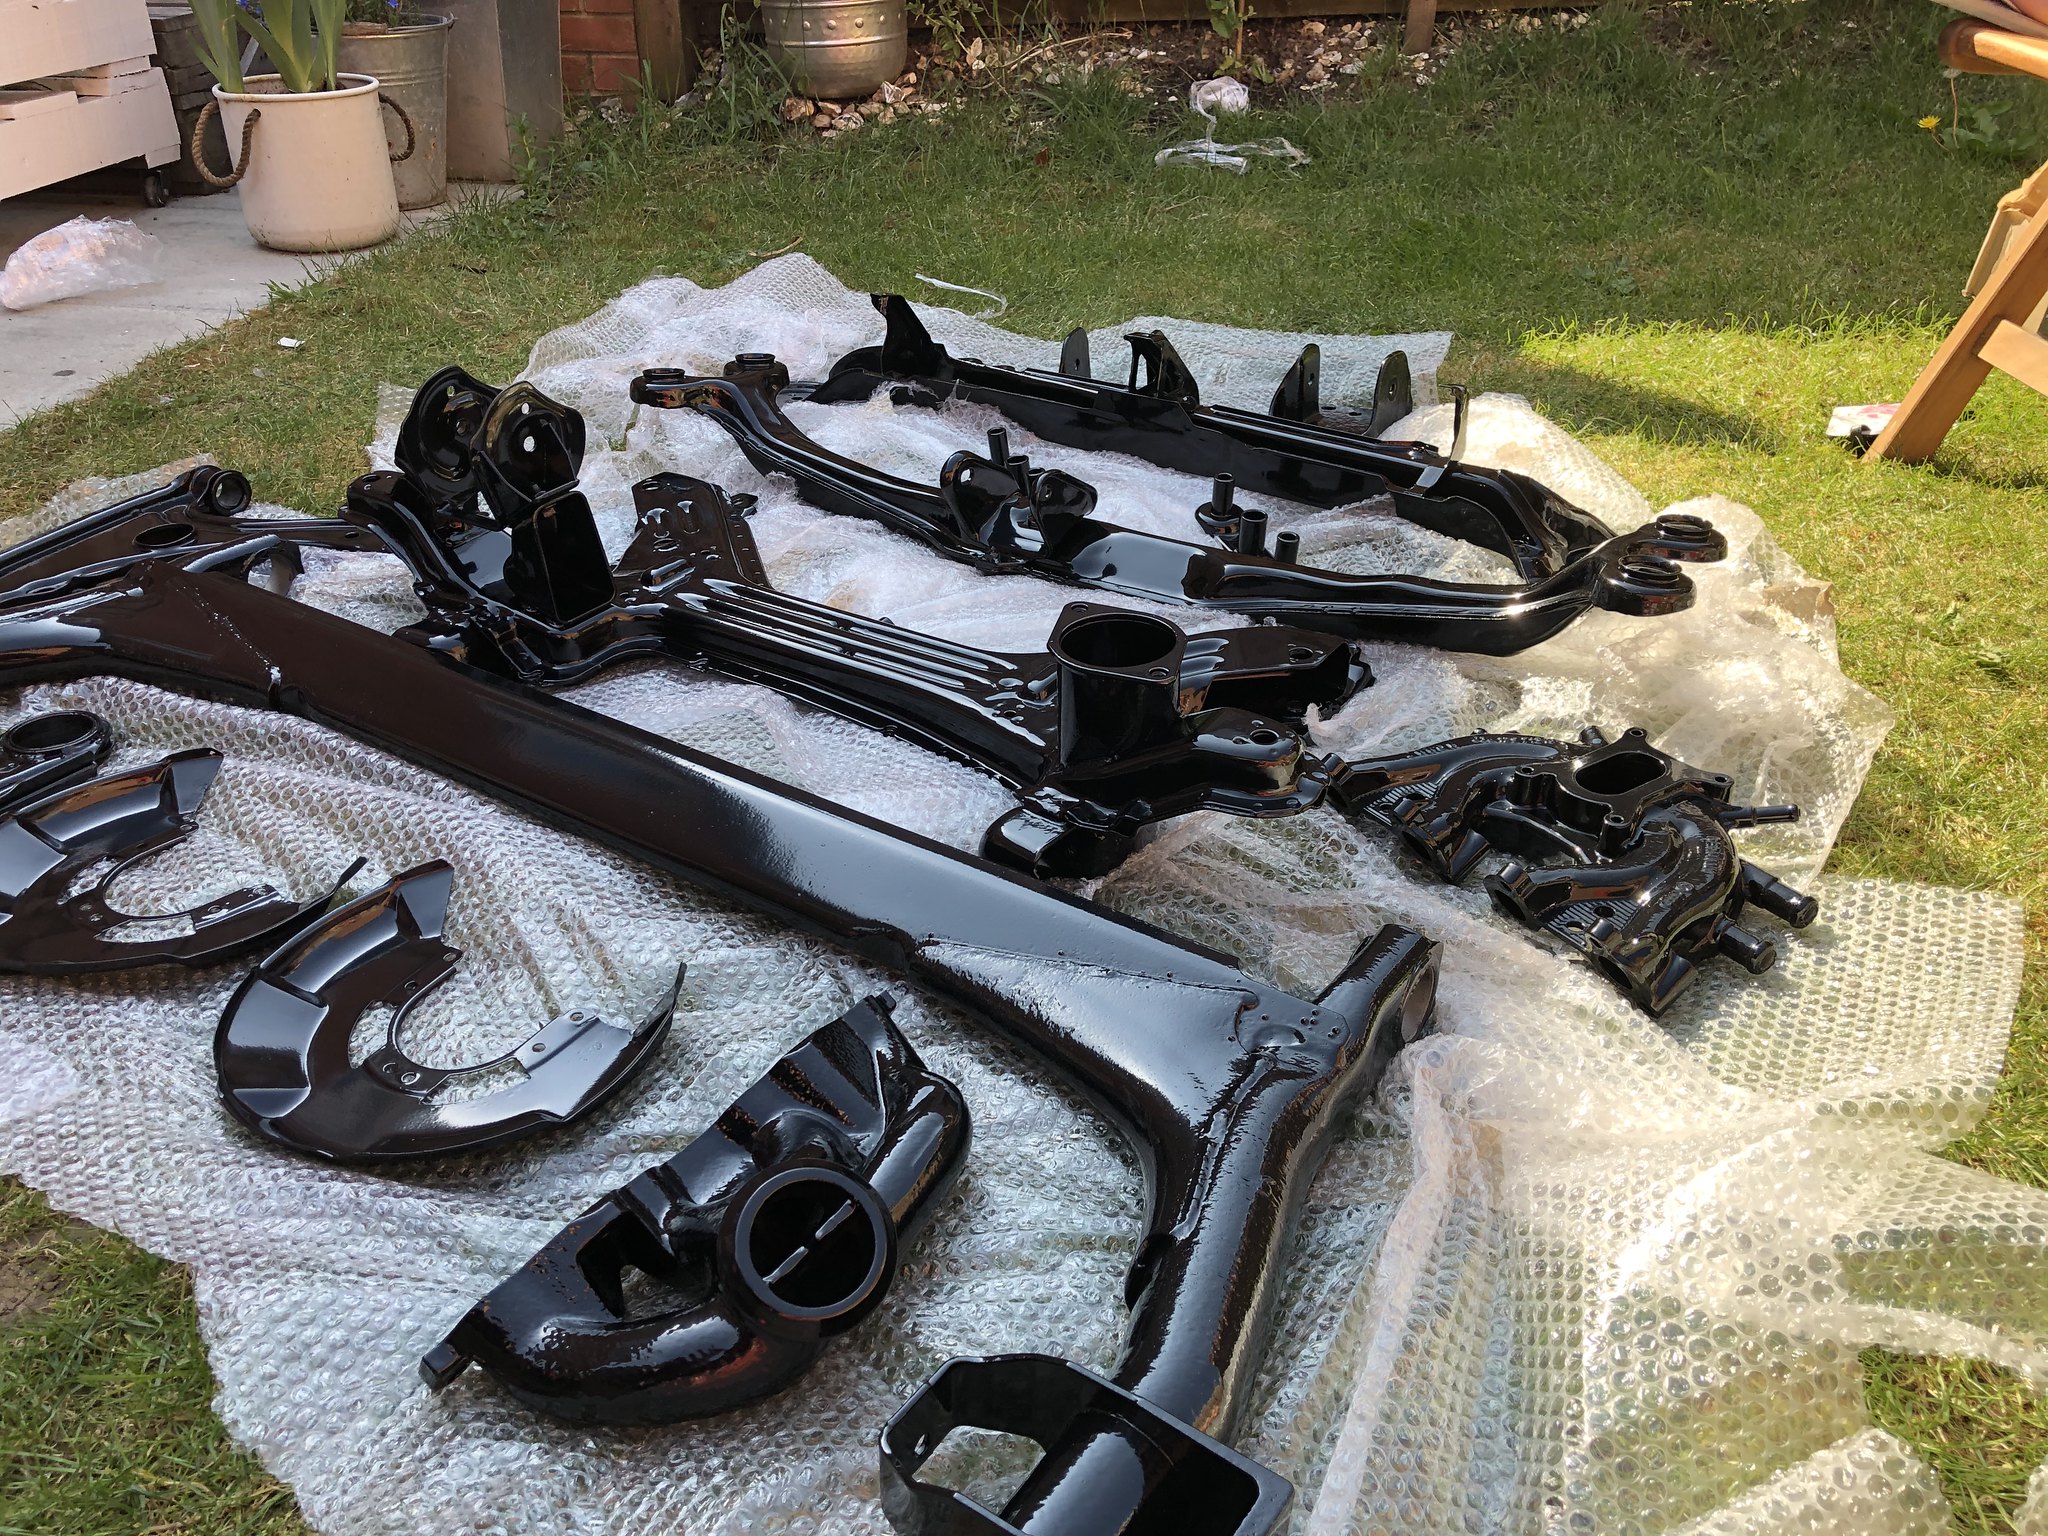
While all this was going on in the background I had started on the running gear which I had powder coated in black as requested by daughter along with a few other bits and bobs.
 Gearbox by Karl Bartlett, on Flickr
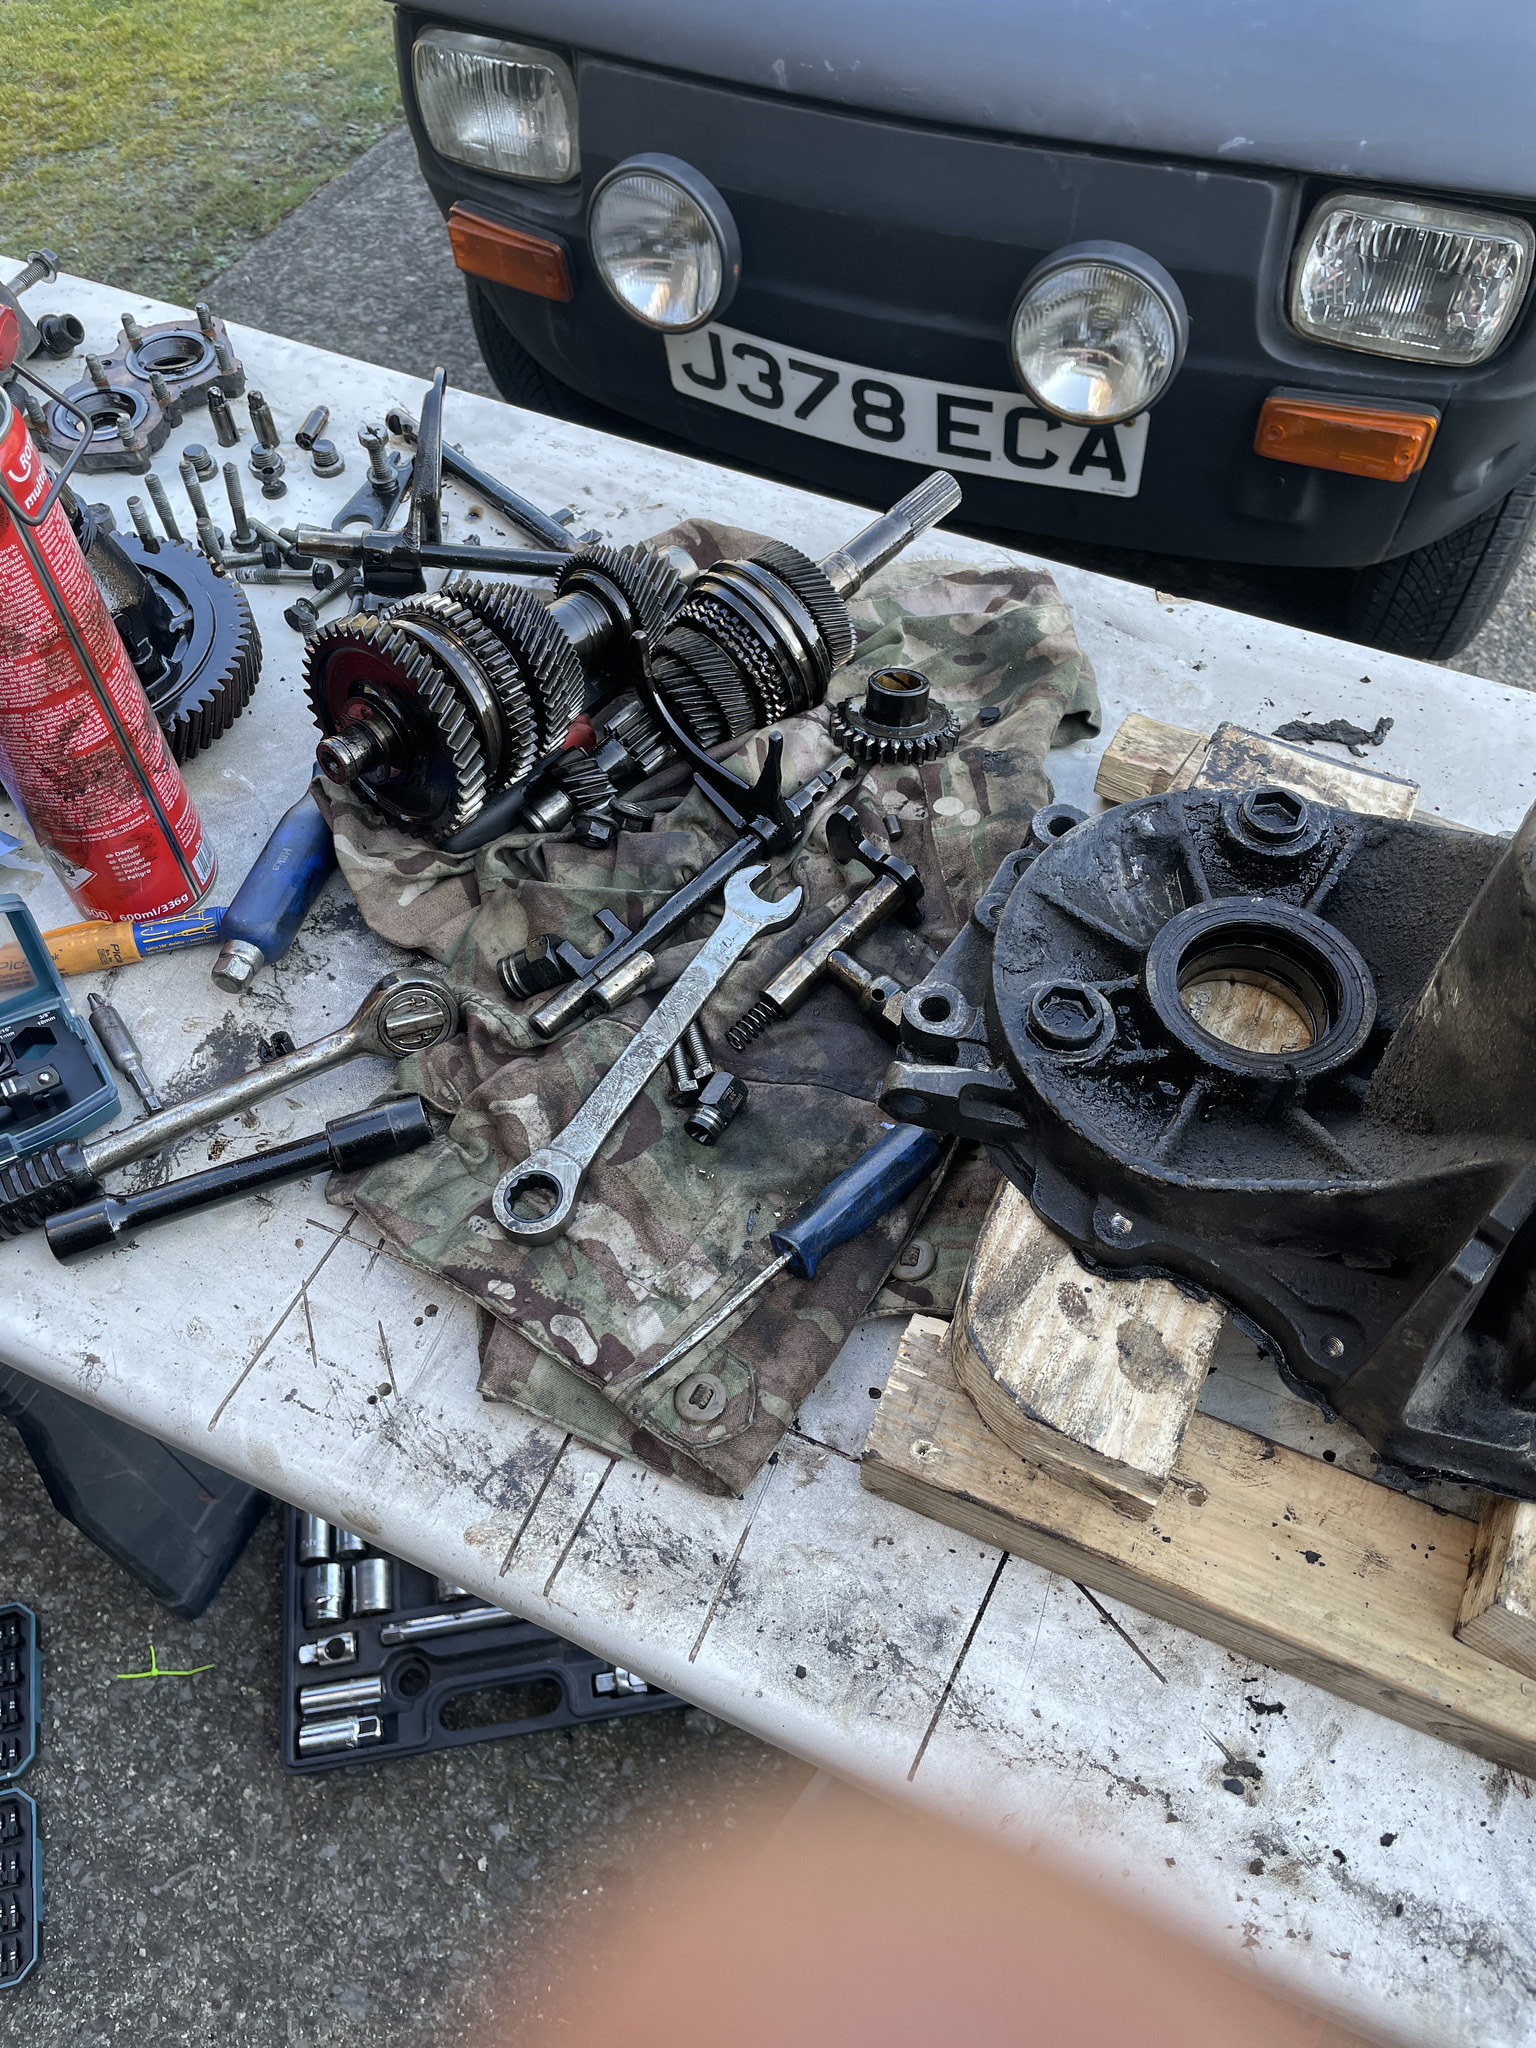 Gearbox by Karl Bartlett, on Flickr
 Gearbox by Karl Bartlett, on Flickr
 Gearbox by Karl Bartlett, on Flickr
 Gearbox by Karl Bartlett, on Flickr
 Gearbox by Karl Bartlett, on Flickr
 Gearbox by Karl Bartlett, on Flickr
 Gearbox by Karl Bartlett, on Flickr
 Gearbox by Karl Bartlett, on Flickr
 Gearbox by Karl Bartlett, on Flickr
 Gearbox by Karl Bartlett, on Flickr
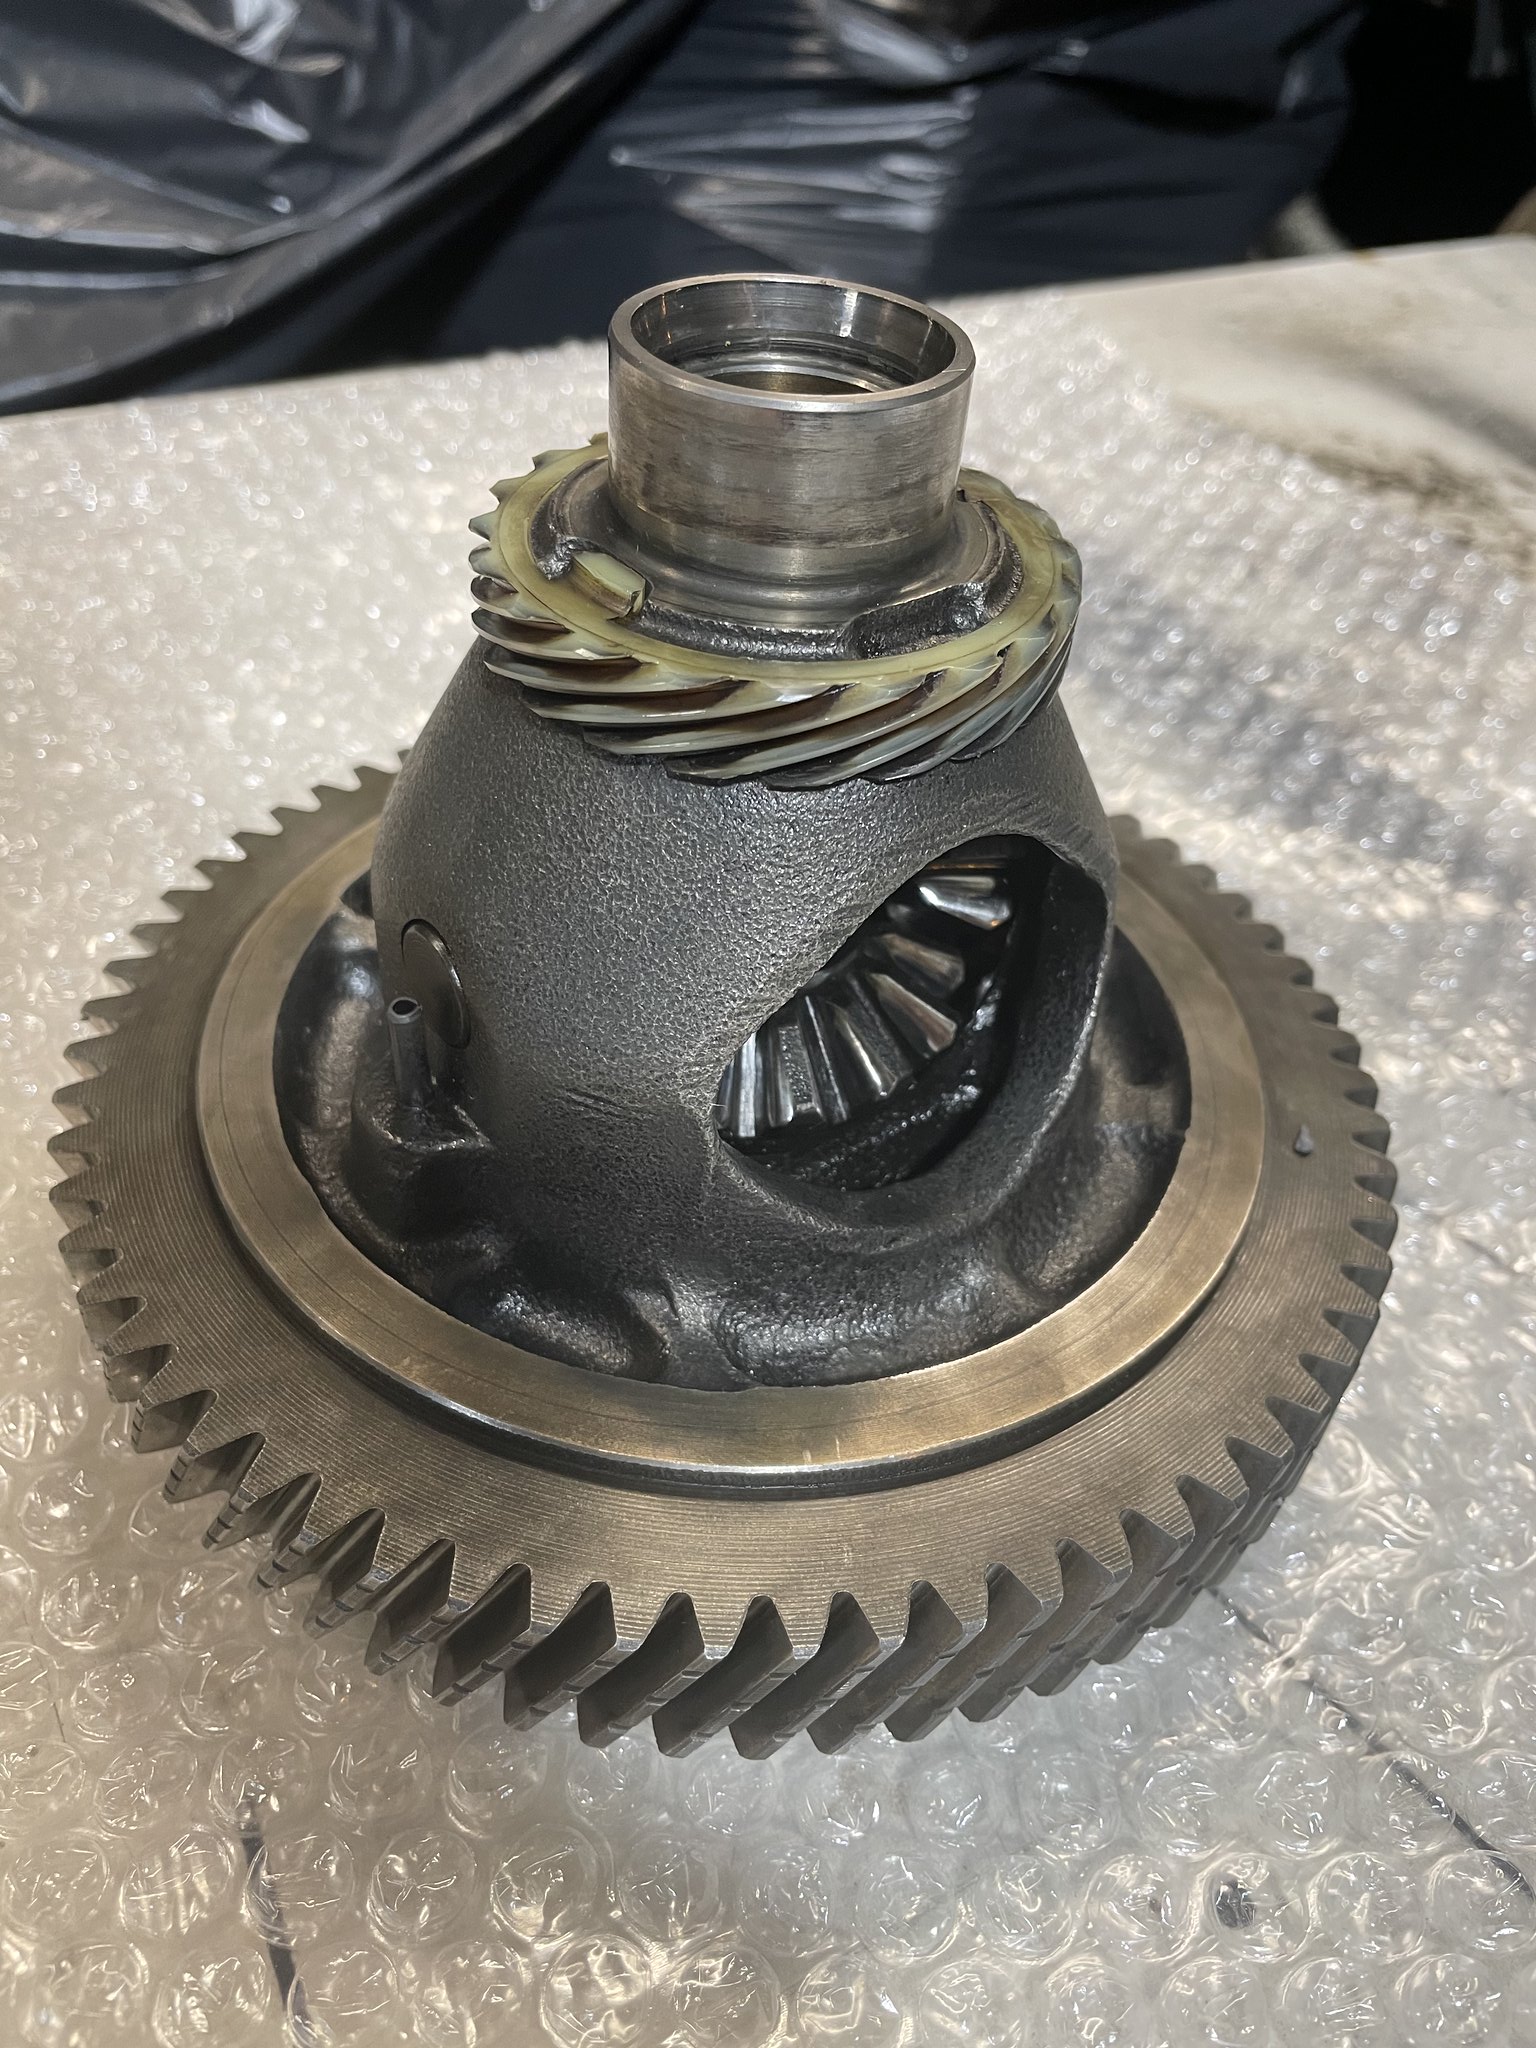 IMG_6188 by Karl Bartlett, on Flickr
 IMG_6189 by Karl Bartlett, on Flickr
 IMG_6190 by Karl Bartlett, on Flickr
 IMG_6191 by Karl Bartlett, on Flickr
 IMG_6192 by Karl Bartlett, on Flickr
 IMG_6187 by Karl Bartlett, on Flickr