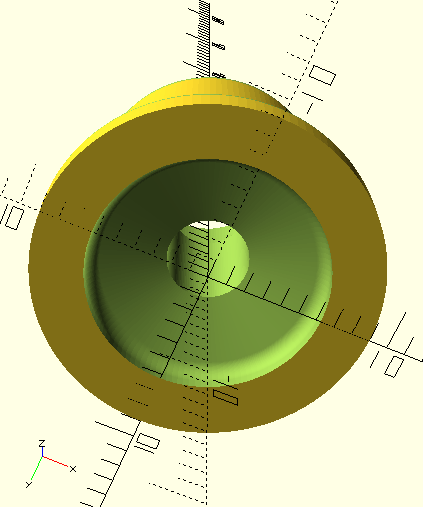
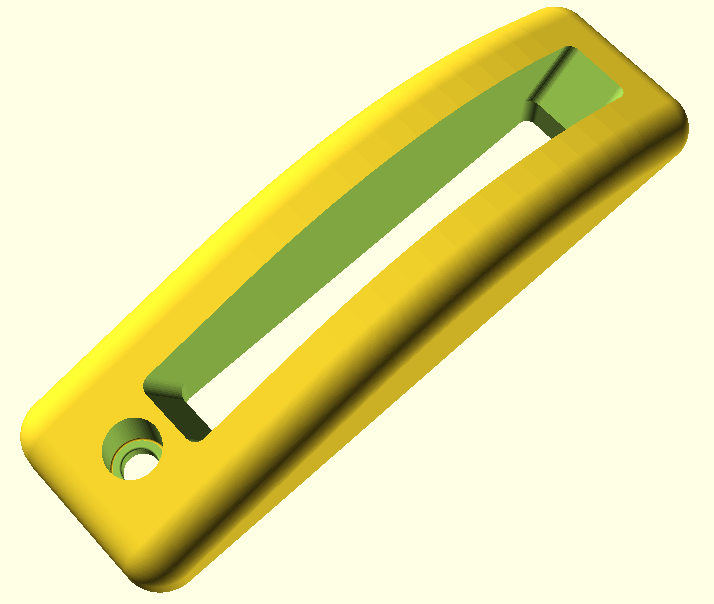
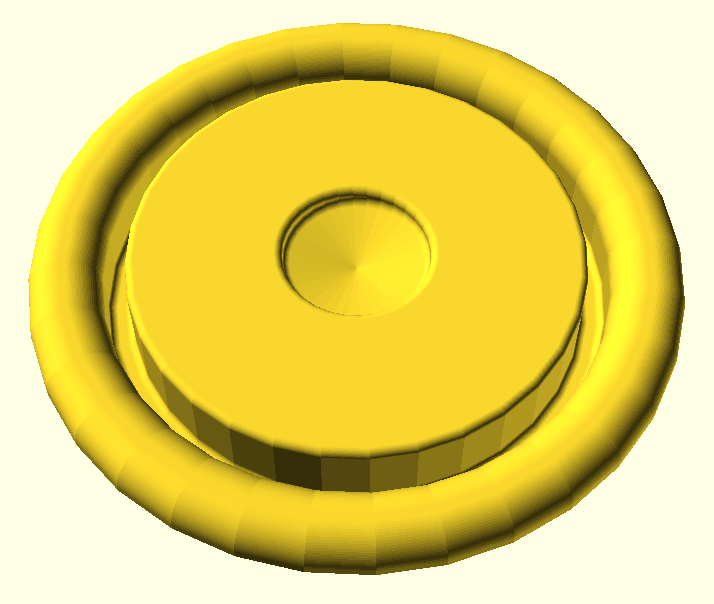
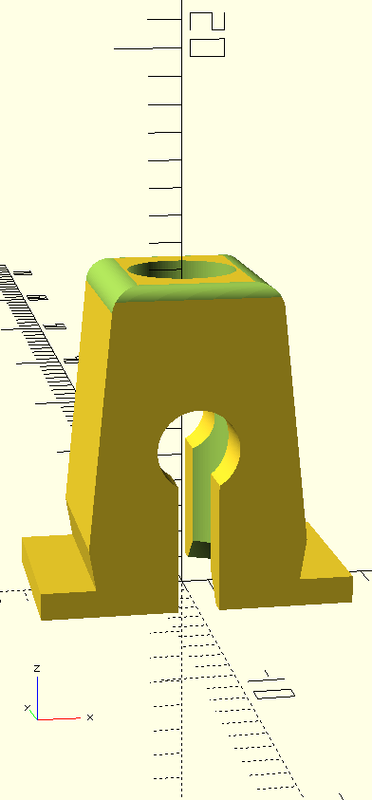
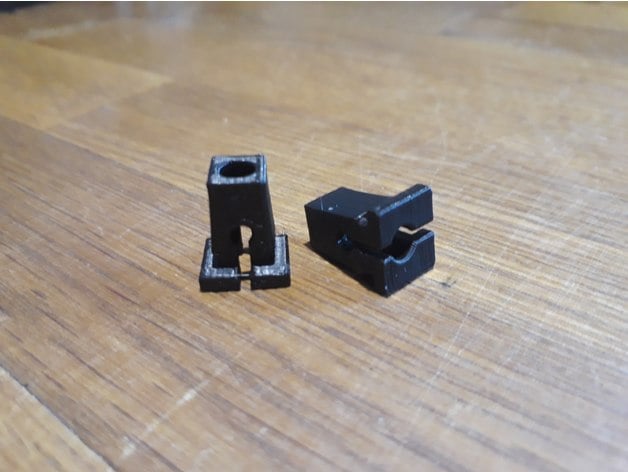
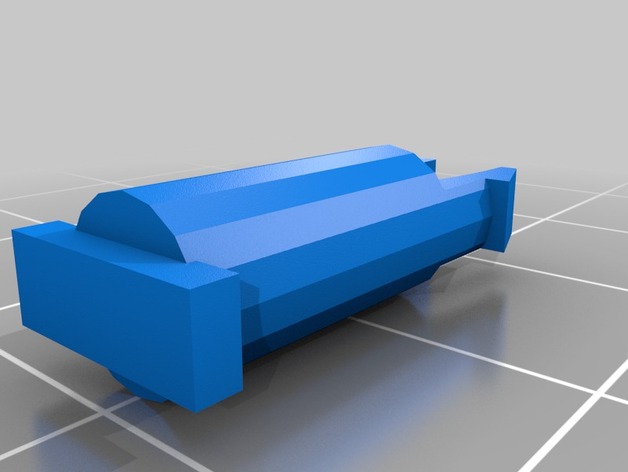
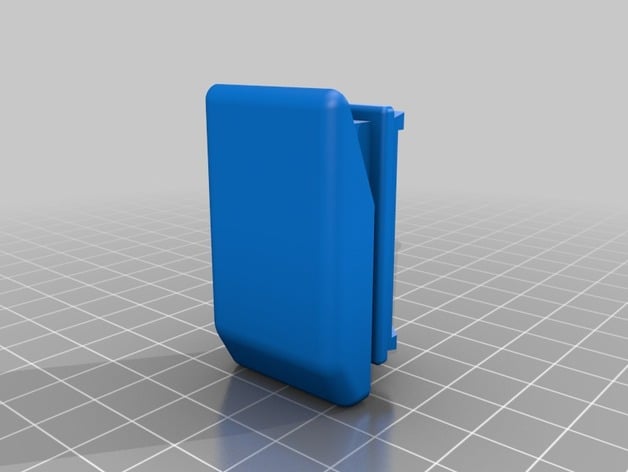
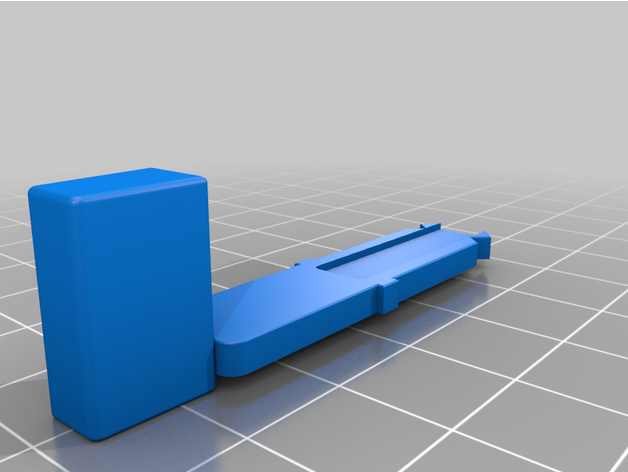
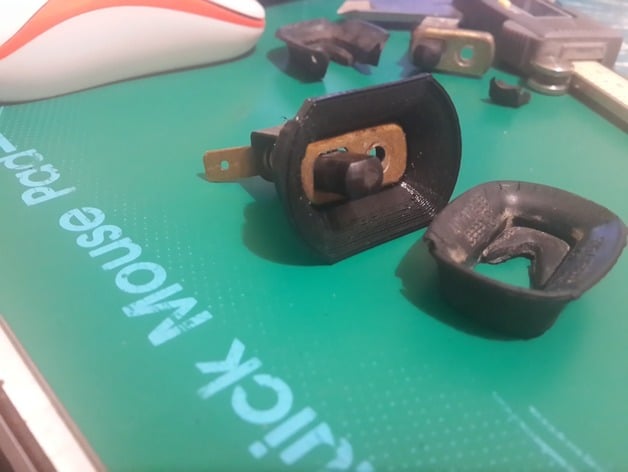
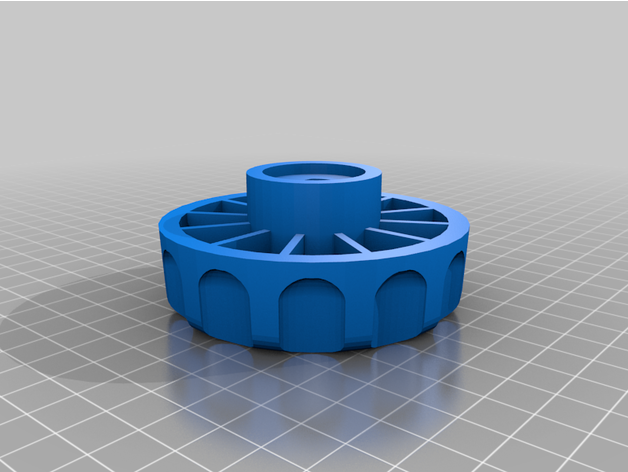
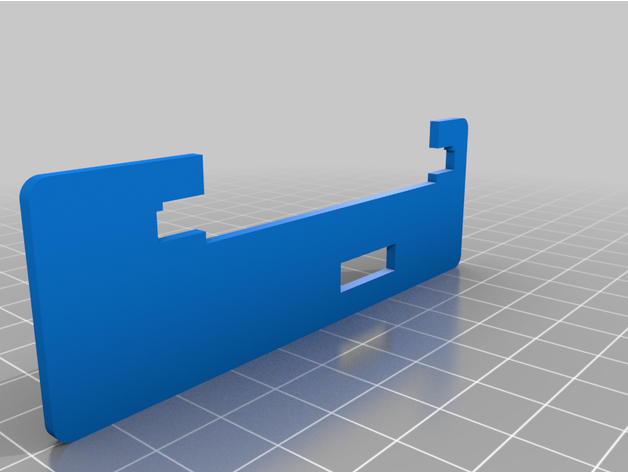
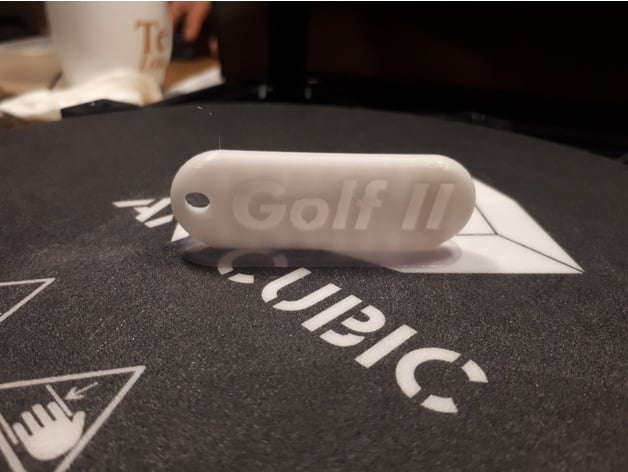
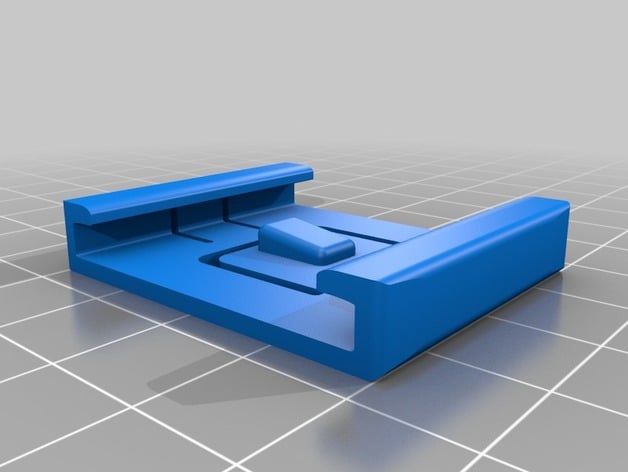
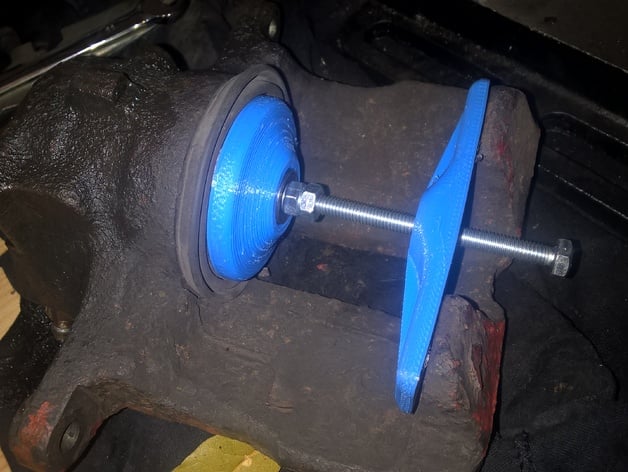
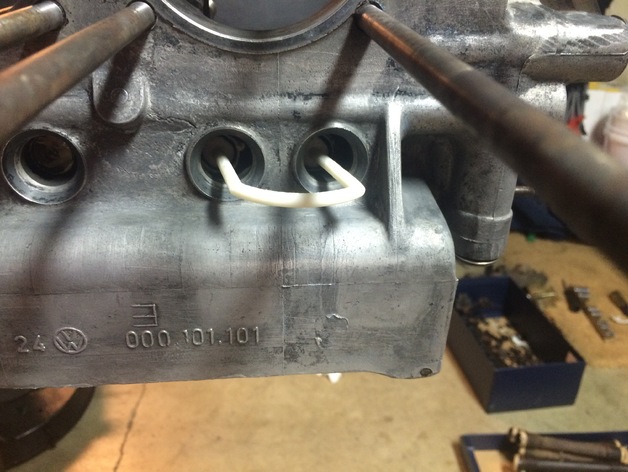
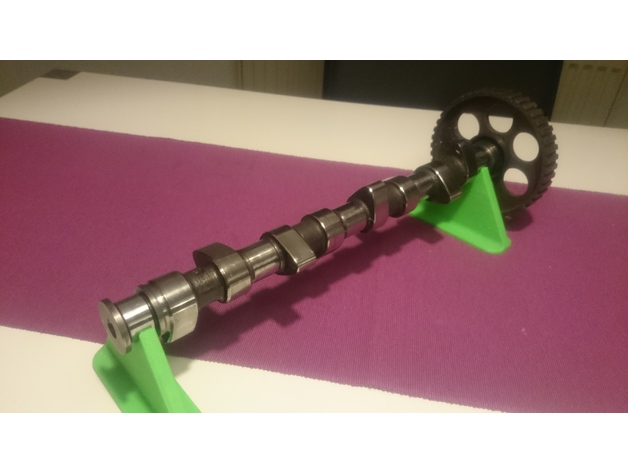
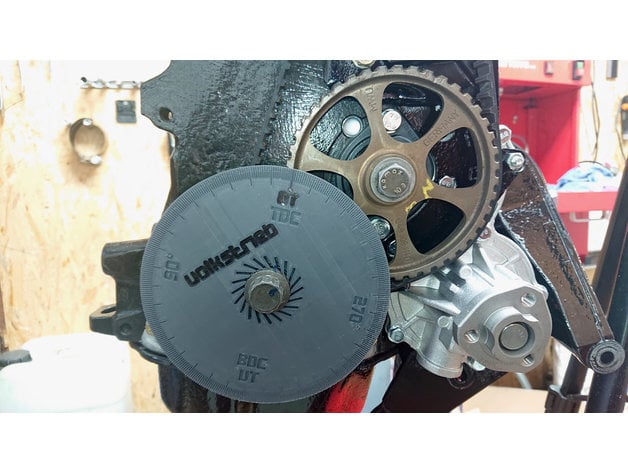
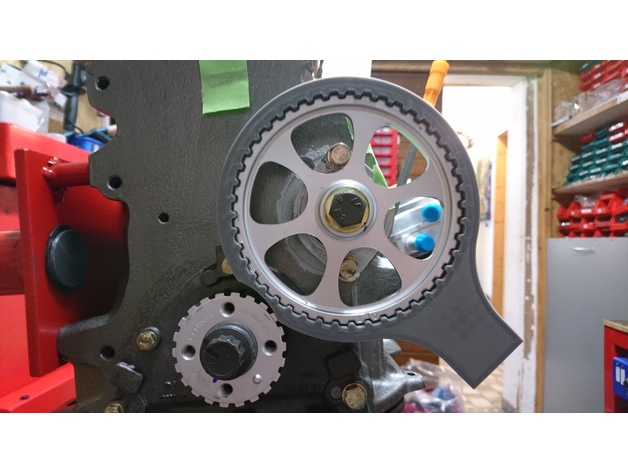
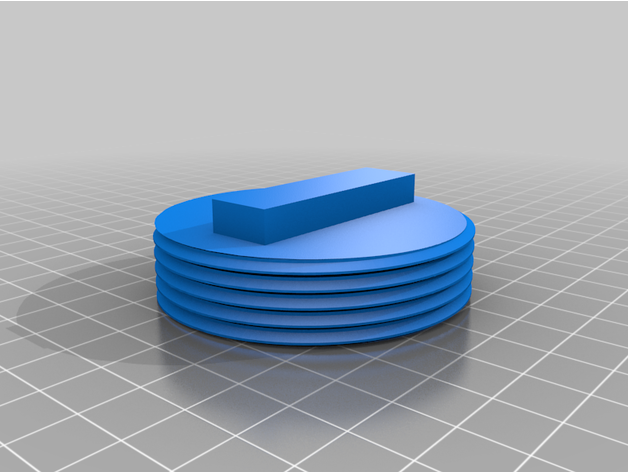
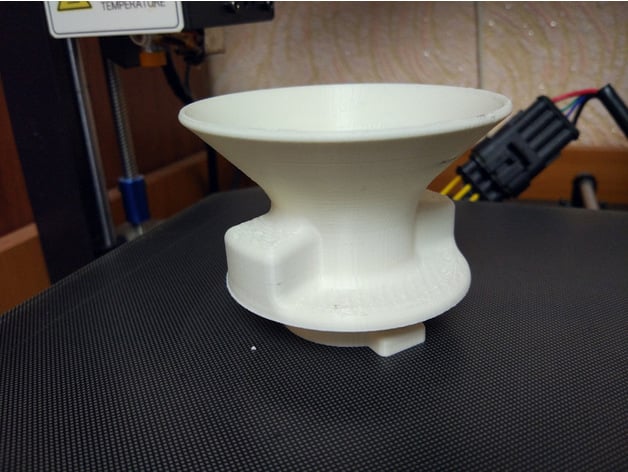
Over the last years, especially plastic 3D-Printers became affordable, and thus publicly available. Since there are many not too complicated small plastic parts on a MK2, one could have some of those out of the own 3D-Printer and even improve them and create new ones.
There are some unlinked models above. If you come across them in thingiverse, please post their link, in the discussion thread. Also new stuff of course :-)
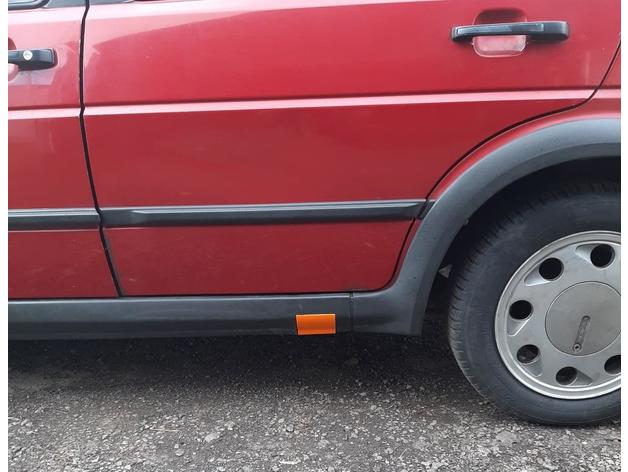
This is walking one somewhat trough fitting a trailer hitch. Since there are no pictures, it probably won't get the best love, but maybe it could help someone.
While being at fitting the 3rd one, I thought I could write a little about it. It's a little adventure, but after all, not a big deal and, especially with rust and a good fit, the shop wouldn't care as much as you, sometimes.
I assume a small bumper here.
There is a VW Golf/Jetta 2 specific trailer hitch needed. Else there could be extra efforts. Especially with the electronics like the wires and stuff.
First you take off the rear Bumper.
You take a wrench with a about 30 cm extension and a opening of maybe 17 mm, and take the 4 screws behind holes in the underbody, out. Maybe you need to extend the lever with a pipe to crack the nuts.
After you have got the 4 screws out, you just pull the bumper away from the car.
You are happy now, aren't you ?
Then you screw off the two holders on the bumper. You'll need a 13mm wrench for the 4 screws.
Now you have to screws sticking out. you just need the ones sticking from the top. The others are in the way.
You can have fun with them now, and I don't recommend it, or you take out the sheet metal bar.
The later will hurt the plastic, but see it's rusting, so sooner or later you would have to do it anyway. And since the plastic isn't getting more flexible with age, you probably better do it now. Don't screw up, and rip something off, by the way ;-)
So, ready for the fight ?
As described in Haynes you work it out from one side.
I've put a wedge under on one side, squeezed the lasches of the rectangular frame, so the lashes go to the outside.
Then levered of the entire side. On the ends I helped a little by levering a bit with a flat screwdriver trough the slit, so I don't rip the holders from the outer plane.
When the downside was free, I squeezed the row of rectangulars, so they would fit through the hole. If they have little of an offset, one could help a little with a lever, instead of squeezing them to oblivion, and maybe even ripping them.
In the end it probably loosens rather quick.
If nothing bad happened, you have a reason to celebrate ;-) Regarding the mechanics, it goes downhill from now.
I there are bumps who do not belong there, you hammer them out. Then you take a rotary wirebrush and brush off the rust. If you scratch the hole sheet metal bar with it, you can see if there is rust under plus the paint is holding better. Now you take a wire, hang the bar somewhere, put old newspapers unter it, and paint it in black with a good old brush and a smaller one for the grooves. You take alkyd resin varnish or something rustpreventing. Make some thick layers, so there is good protection against rust. Nobody will see eventual paint droplets.
Now after drying, with just the screws from the top (you could also put new or stainless), you put it back in. "Snap" ;-)
Now you screw the clunky stuff on. Maybe you have some new washers and nuts, preferably stainless, around for it.
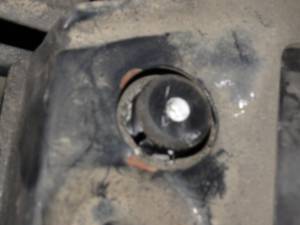
You could threat some rust, hidden by the bumper on your car now, and finally put it, together with the trailer hitch, back on.
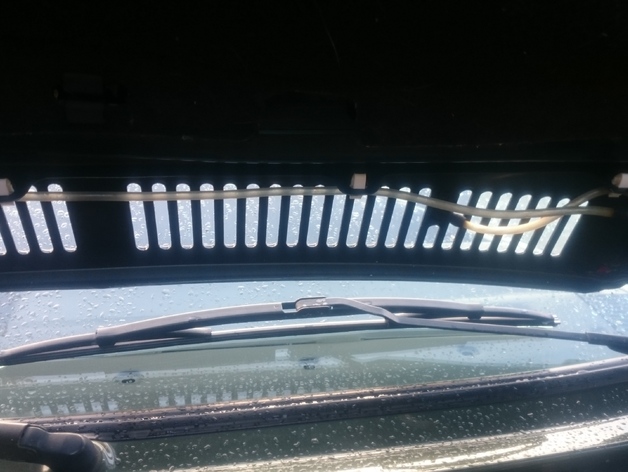
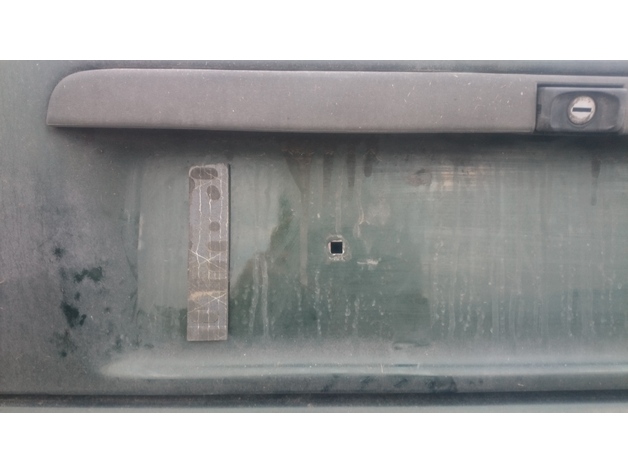
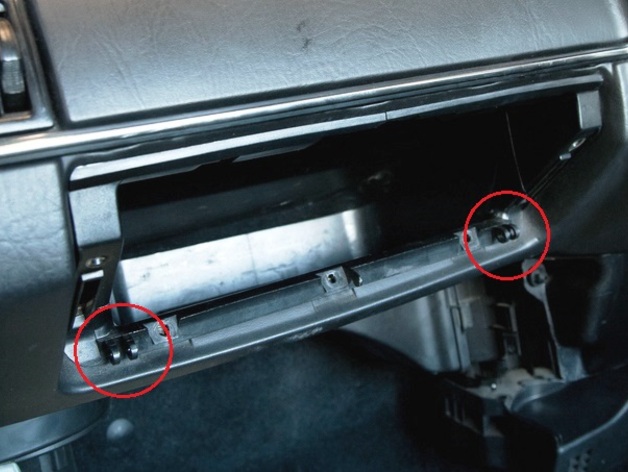
The hole for the wiring in your MK2 could be on the left or the right side, and you could mount the power plug holder accordingly.
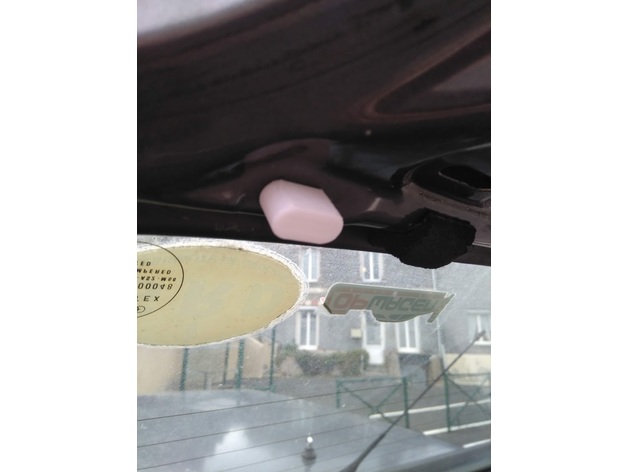
Sidenote: If you forgot the original keys in your trunk and it is locking, you could take a hook and they will barely fit through the hole. VW thought about everything, there ;-)
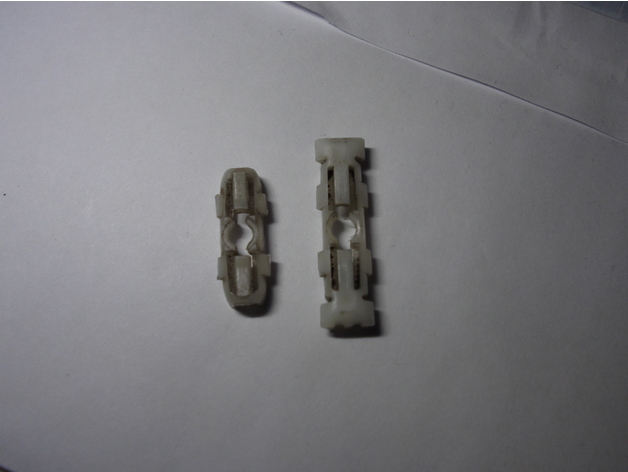
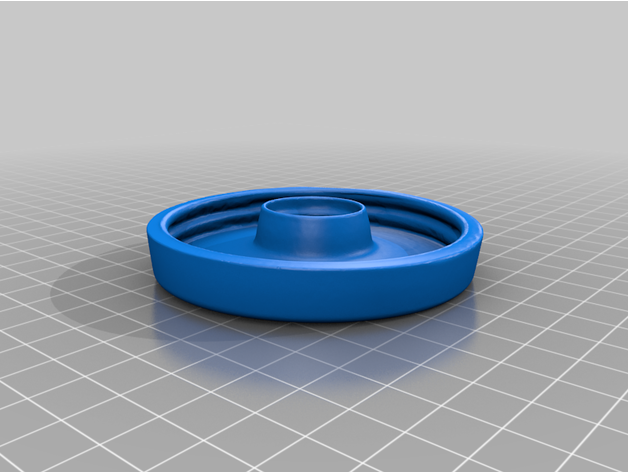
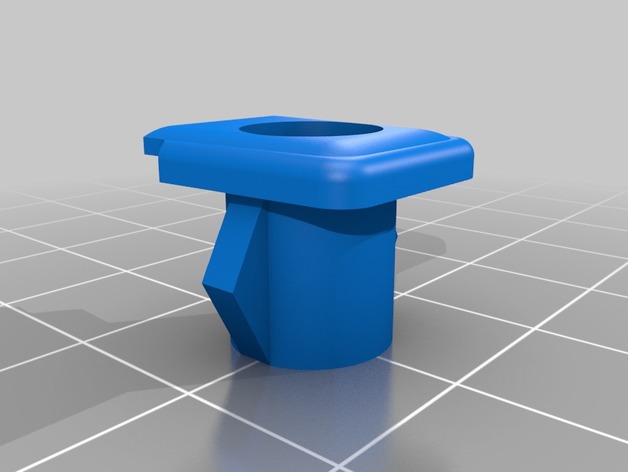
My trailer hitches wasn't coming with fitting plugs. You could 3D-Print a plug, or you buy something or you put a hole in yours, which is rather meant for merely closing the hole, if there are no wires going through it, but it could work.
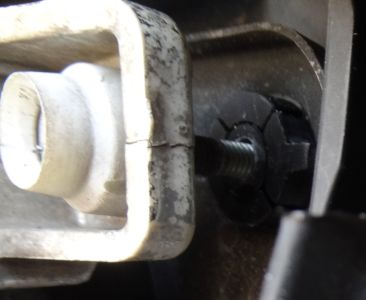
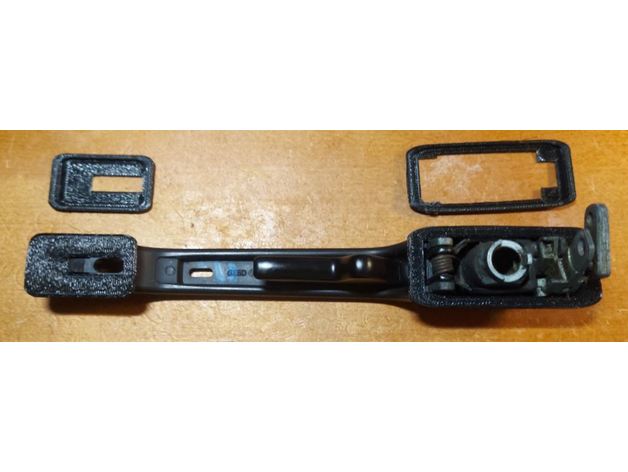
The most fun I had with those VW power bars on the rear lights. You'll love it ;-)
For pulling a lug out, you take two little flat watchmaker screwdrivers, stick them in from the front above and below the cable lug, point them vertical to the power bar, and pull them away from each other while pulling the power bar out. For having this working you have to be very desperate and equally rough.
There must be a special tool, for making this easier.
with 5 gears it's a 4+e (economy) gearbox, so i have the option of accelerating up to the max (in my case 160 km/h) in the 4th gear, without going over the top with the revolutions, right ?
the steering column bearings sound like they are eating them selves up, even if the steering wheel goes smooth (although slightly feeling the vibrations).
it has been like this for a while and it is not worsening.
could there however be security implications, like a suddenly blocking steering wheel ? has anyone had this issue before ? how to get the bearings out ? which replacement bearings do fit ?
A facia panel is a indicating device in the dashboard. It is right behind the steering wheel, and has a bent acrylic glass in front, behind which there is a collection of indicators like the speedometer and so on.
These collections differ within the MK2 series.
The C-Model does not have a clock nor does it have a tripmeter. The GTI-Model, as well as the CL's with automatic transmission and the Golf Hit, has a LCD-Clock. Sometimes, there is a revolution meter, and if not, there are sometimes gear switch marks. The temperature indicator is sometimes included in the right.
I just know a little here, probably a senior would like to answer with a deeper sum up, to make it a little nicer. I would be pleased.
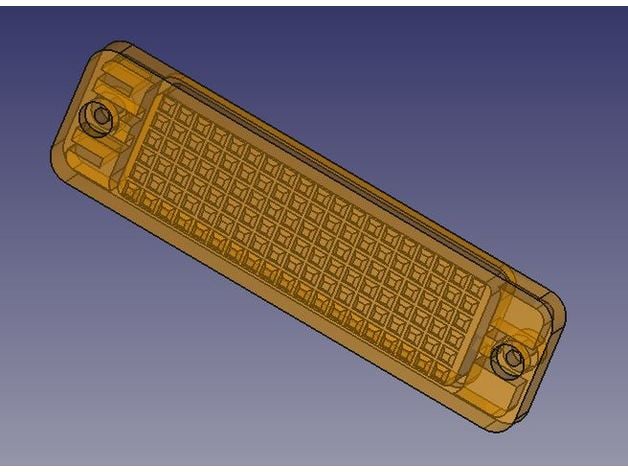
Among other things, this could be useful for putting a revolution meter in. Intuitively for me, the right place for the trailer indicator control light would be in this free slot below the indicator control light, but after @Eddypeck digged out an original handbrake warning light with a build in one (191919235F), it seems not longer to be meant for it. The only light in the second column seams to be the engine emission malfunction warning and its always on the far end to the middle of the car (RHD/LHD respectively).
Anyway, on utube they tell us how to fiddle with it, which we, of course, should not do.
Edit: Golf C has no tripmeter, adding LCD-Clock appearances.
i forgot to turn off the light for a few days, and now the car does not fire up 2 times in a row.
i' sorry about the battery, but since it was produced in 2017 it is probably not too bad, to buy a new one at this point, i guess. but in my car manual, they do not specify a capacity.
is there a list somewhere, which connects engines to batteries ?
its a 90hp machine. the old battery had 55ah, but the 44ah ones are cheaper, of course and who knows when i leave the light on next time. so can i use a 44ah, as in our mk2's with 55hp machines ?
is there a minimal amperage, which the battery should have ?
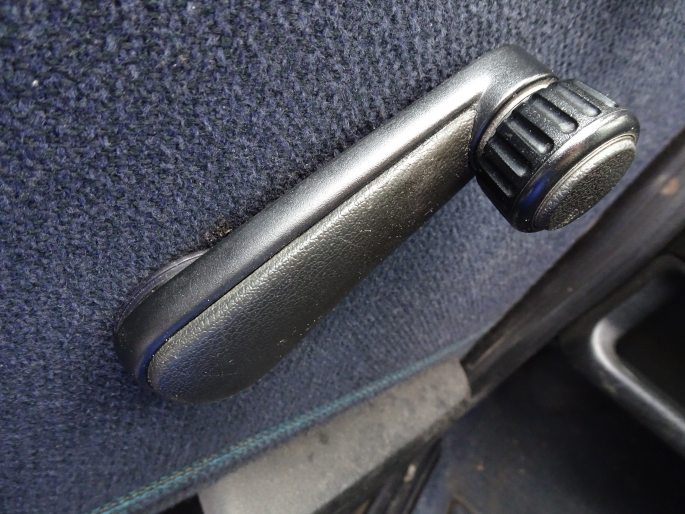
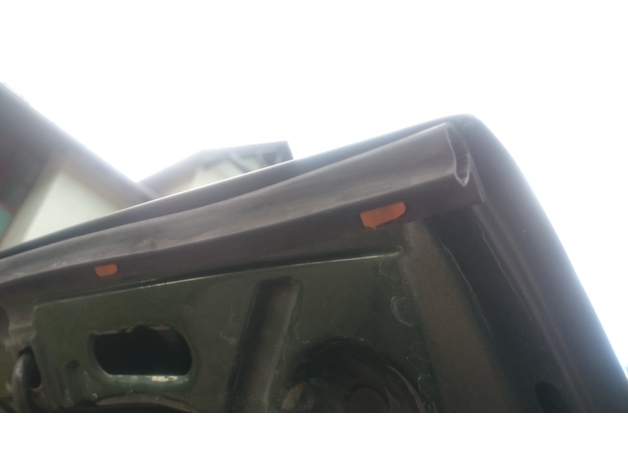
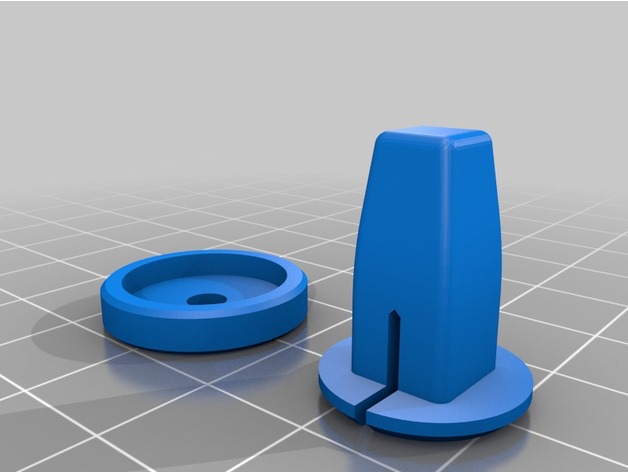
on mine the 2 upper of the 3 pins, on the back, are broken.
the previous owner has riveted and glued it on.
in which ways could i fit it ?
maybe i could also restore the pins somehow. but i am not so happy about this pin technique in general. has anybody of you lost some trim on the road ?
since i have not finished the body work yet, i would need to get it off at times. therefore i thought about screwing it on somehow. at best while keeping the surface intact.
on the opposite side of the car, there is rust creeping under it. so there i would have to remove it. i have to lever off the plastic pins, i guess ?
in our cars are some rusty valve cover. some with a even layer of rust, some with the rust peeling off.
what to do about it ? pitting corrosion should be avoided, i guess ?
should i use a wire brush or apply rust converter ? maybe removing the oil with cleaning alcohol before ?
after having it off, one of you guys brushed it clean and painted it black with something, i have seen somewhere here. but since i wouldn't take it off now, i just like to conserve it a little..